

Channel At This LINK
American Flag Yard Sign Crochet Pattern By Sara Sach
Please Add This Crochet Pattern To Your Ravelry Favorites
Skill: Easy
Materials:
Crochet Hook – N /9 MM
Yarn – Chunky (6) 5 oz. / 76 yds. of each color –Yarn Bee True Colors
C1 – Red, C2 - white, C3 – Blue, C4 -
Yellow
Yarn needle
Hanger - It fits the standard yard sign hanger
Stitches:
Chain (ch)
Slip Stitch (slst)
Single Crochet (sc)
Double Crochet (dc)
Notes:
Ch3 Counts as a dc.
When changing colors, ch3 after the color change.
When changing colors, do not cut your yarn.
Size: 17
X 15 inches
How To Change Colors:

Pattern:
R: 1 – With C1, Chain 32, 1 dc in the 4th ch from the hook,
and in each ch across, Turn, Ch3
(30dc – st count remains the same for all rows of flag)

R: 2 – 1 dc in each dc, Turn

R: 3 – Change to C2, Ch3, 1 dc in each dc, turn, Ch3

R: 4 – 1 dc in each dc, turn

R: 5 - R: 12 - Repeat R : 1 – R : 4 For 2 more times.

R: 13 – With C1, ch3, 1 dc in the next 14 dc, Chg to C3,
1 dc in
the next 15 dc, Turn, ch3
(15 red C1, 15 dc C3)

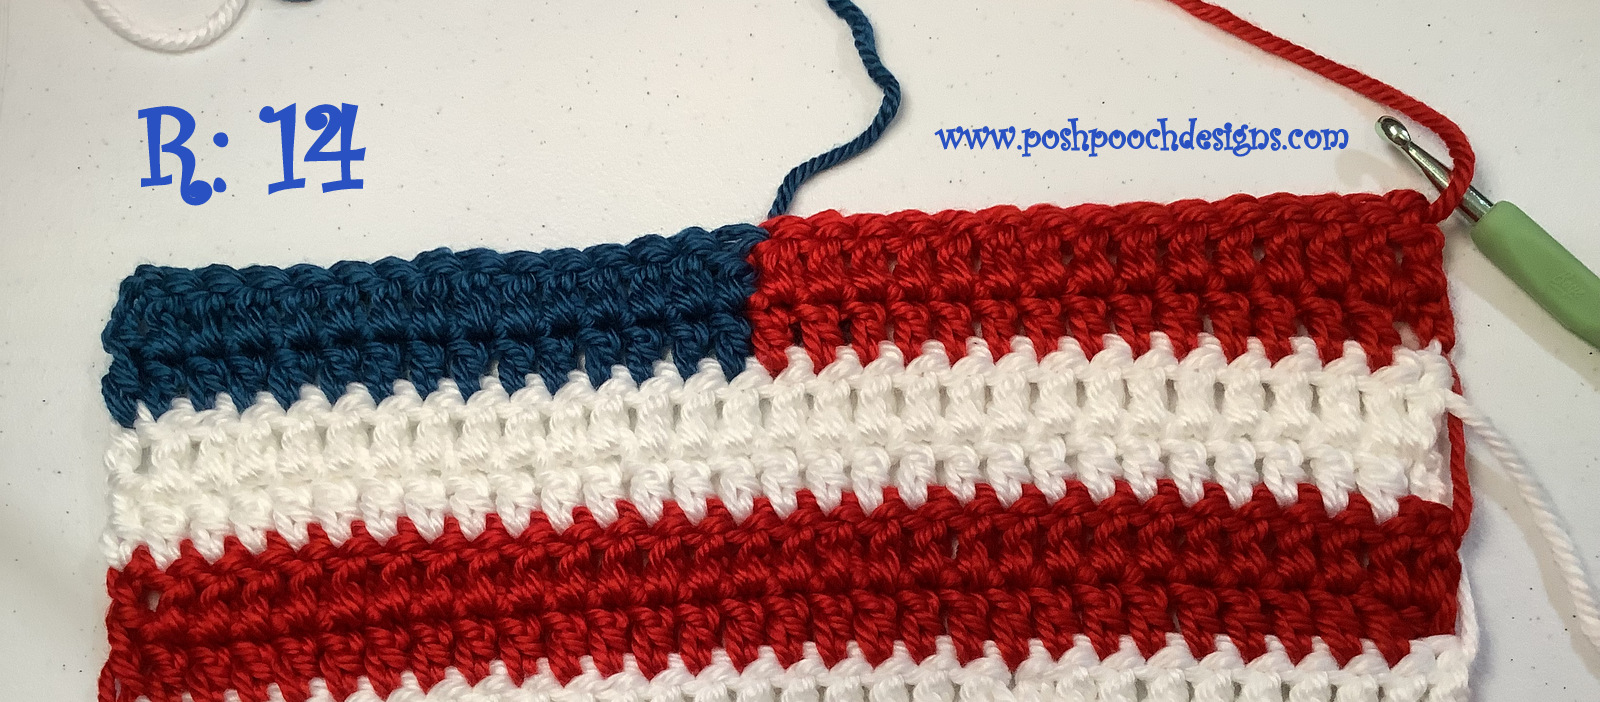
R: 14 – 1 dc in the next 14 dc, change to C1, 1 dc in the next 15
dc, Turn
R: 15 - With C2, ch3, 1 dc in the next 14 dc, Chg to C3,
1 dc in
the next 15 dc, Turn, ch3
(15dc C2, 15dc C3)
R: 16 - 1 dc in the next 14 dc, change to C2, 1 dc in the next 15
dc, Turn

R: 17 – R: 20 – Repeat R: 13 – R: 16 1 more time.

R: 17 – Change to C3, ch 3, 1 dc in each dc across,
Turn working down the 1st side of the flag,
We will be placing stitches into the ends of the rows.
1 sc in the corner, *sk the next row end, 3dc in the next row end,
sk the next row end, sc in the next row end*
Repeat From * to * Down the side, across the bottom of the flag,
then up the other side.
Dc across the top of the Flag, tie off leaving about 30 inch piece
of yarn.

stitch a +, the St an X on top of the +.

Fold the top 2 rows of the flag over, to form a fold to put the rod through,
and sew closed with the tail of yarn.


No comments:
Post a Comment