Bag and no one will take your lunch again,
although, The bag is so cute they may
want the bag!
This bag is easy and fun to make, and useful too.
It has button a tab on the front and a handle that
can be used a couple of different ways. It can be
carried with a short handle, or over your shoulder
with a longer handle.
although, The bag is so cute they may
want the bag!
This bag is easy and fun to make, and useful too.
It has button a tab on the front and a handle that
can be used a couple of different ways. It can be
carried with a short handle, or over your shoulder
with a longer handle.
Stitch up the adorable And sturdy Lunch Tote,
and no bags to throw away. Just slide your plastic
containers inside and you are ready to go.

I used Premier Yarn's New Yarn called
Candy Shop Cotton.
It is a Bulky (5) weight yarn.
It is 85% recycled cotton and 15% recycled polyester.
It's a study yarn and a perfect yarn for a tote.
And you can wash it easily if it gets dirty.

chose from
See Them All By Clicking
My Premier Yarn LINK
Although I designed this tote to be a lunch bag.
It also can be used a lovely hand bag,
purse or a small project bag.
See The Video On My Crochet Youutbe
Channel At This LINK
Lunch Tote Bag Crochet Pattern
Please Add This Crochet Pattern To Your Raverly Favorites
Crochet Hook – I / 5.5 MM.
Yarn – Bulky (5) – Premier Candy Shop/ Sour Splash
– 5.3 oz./ 147yds.
D Ring – 1 inch – 2 of them
Button – 1 inch
Yarn Needle
Chain (ch)
Slip Stitch (slst)
Single Crochet (sc)
Double Crochet (dc)
Crochet Hook – I / 5.5 MM.
Yarn – Bulky (5) – Premier Candy Shop/ Sour Splash
– 5.3 oz./ 147yds.
D Ring – 1 inch – 2 of them
Button – 1 inch
Yarn Needle
Chain (ch)
Slip Stitch (slst)
Single Crochet (sc)
Double Crochet (dc)
skip (sk)
Size: 8.5 Inches Tall X 19 Inches around
Notes:
Ch1 does not count as a st
Ch3 Counts as a dc
Pattern:
R: 1 – Ch 20,
dc in the 4th ch from the hook,
1 dc in each ch across, Turn, ch 3 (18 dc)
Ch1 does not count as a st
Ch3 Counts as a dc
1 dc in each ch across, Turn, ch 3 (18 dc)

Turn, ch 3 (18 dc)

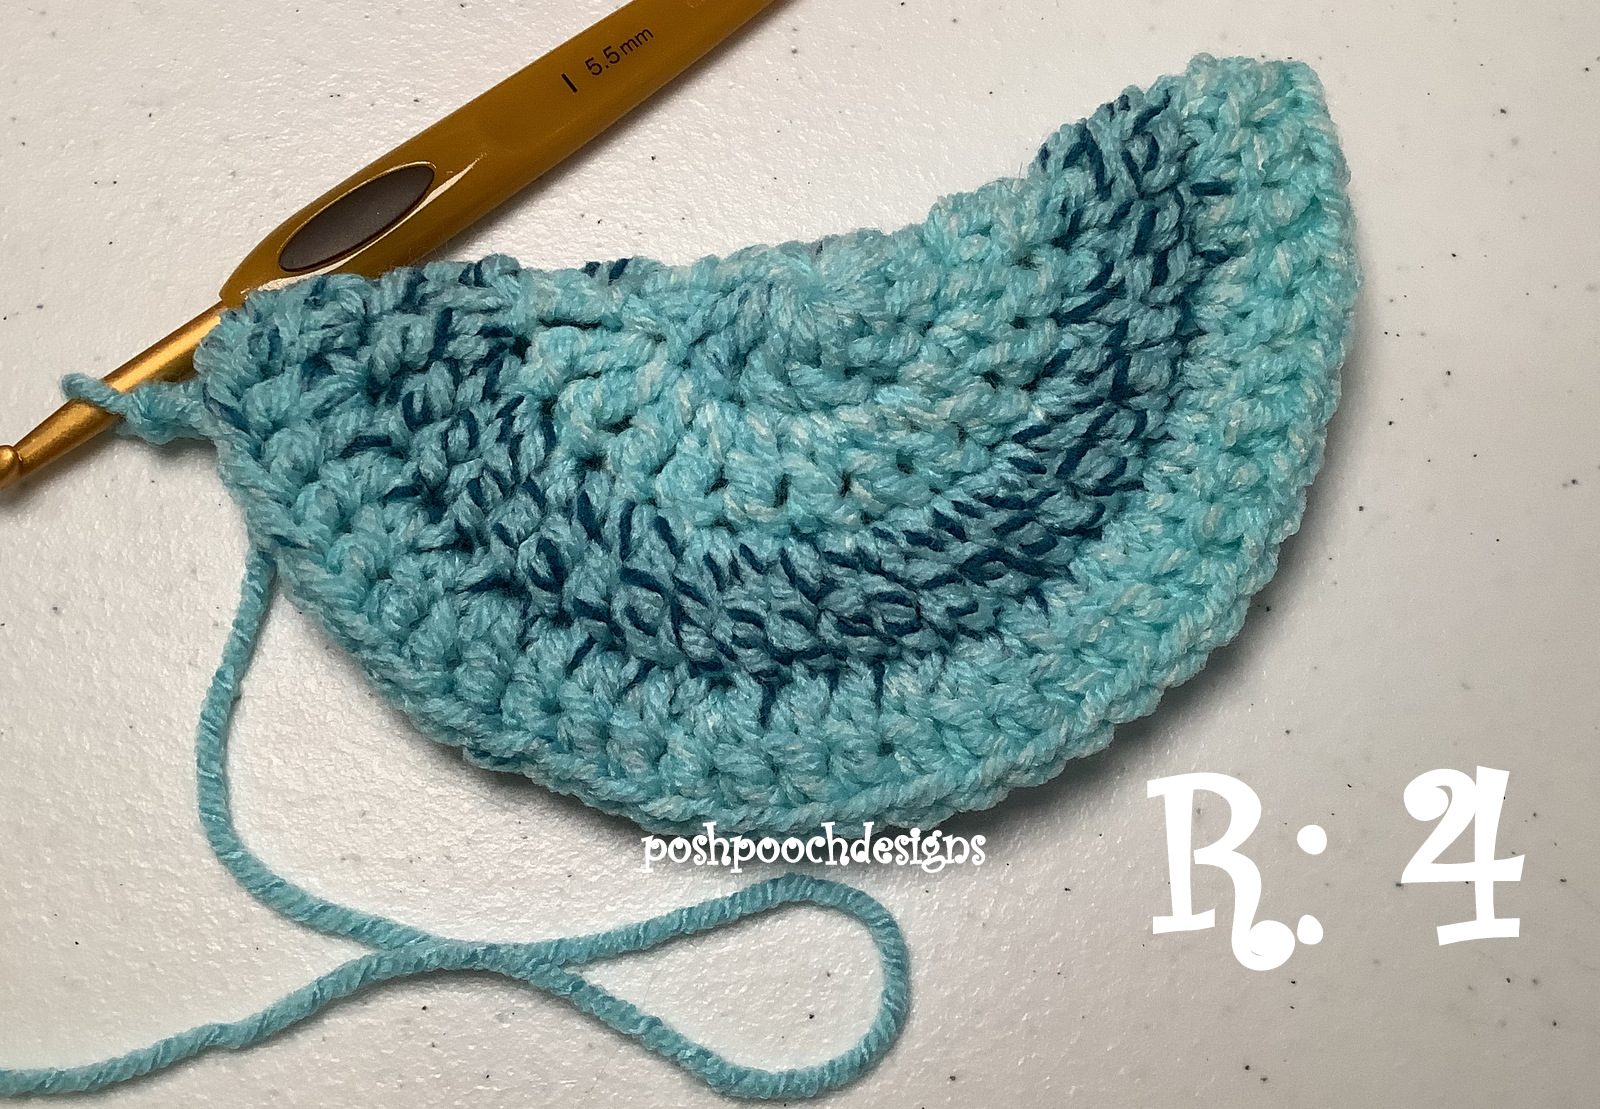
Turn Working on the side of the row, even st 5 dc,
Turn working across the bottom of the rows,
1dc in each dc,
Turn Working on the other side of the row, even st 5 dc,
Join to the ch3 with a sslt, ch 3
(18 + 5 + 18 + 5 = 46 dc)

Join to the ch3 with a slst, ch 3 (46 dc)

Join to the ch3 with a slst, ch 3 (46 dc)

R: 6 - R: 14 – Repeat R: 5
Ch1 after R: 14
Ch1 after R: 14


Forming The Button Tab -
Slst in the next 18sc, turn, ch1, slst in the next 8 slst, turn, ch 1
(46 sc, 18 slst, 8 sc)
Slst in the next 18sc, turn, ch1, slst in the next 8 slst, turn, ch 1
(46 sc, 18 slst, 8 sc)


R: 17 - R:
22 – Repeat R: 16

Tie off Weave in Your ends. (2 sc, ch4, 2sc)
Line up button on the front of the tote and sew in place.

Tote Handle –
Sew them in place securely.

and Holding 2 strands of yarn together,
ch 100 chs, tie off, leaving a 10 inch tail of yarn.
ch 100 chs, tie off, leaving a 10 inch tail of yarn.

Slide The Chain through both D Rings and tis securely.
Trim the ends.

An AD Free PDF File is Available
In My Raverly Shop At This LINK
For $ 4.50