FRIDAY FUN DAY!
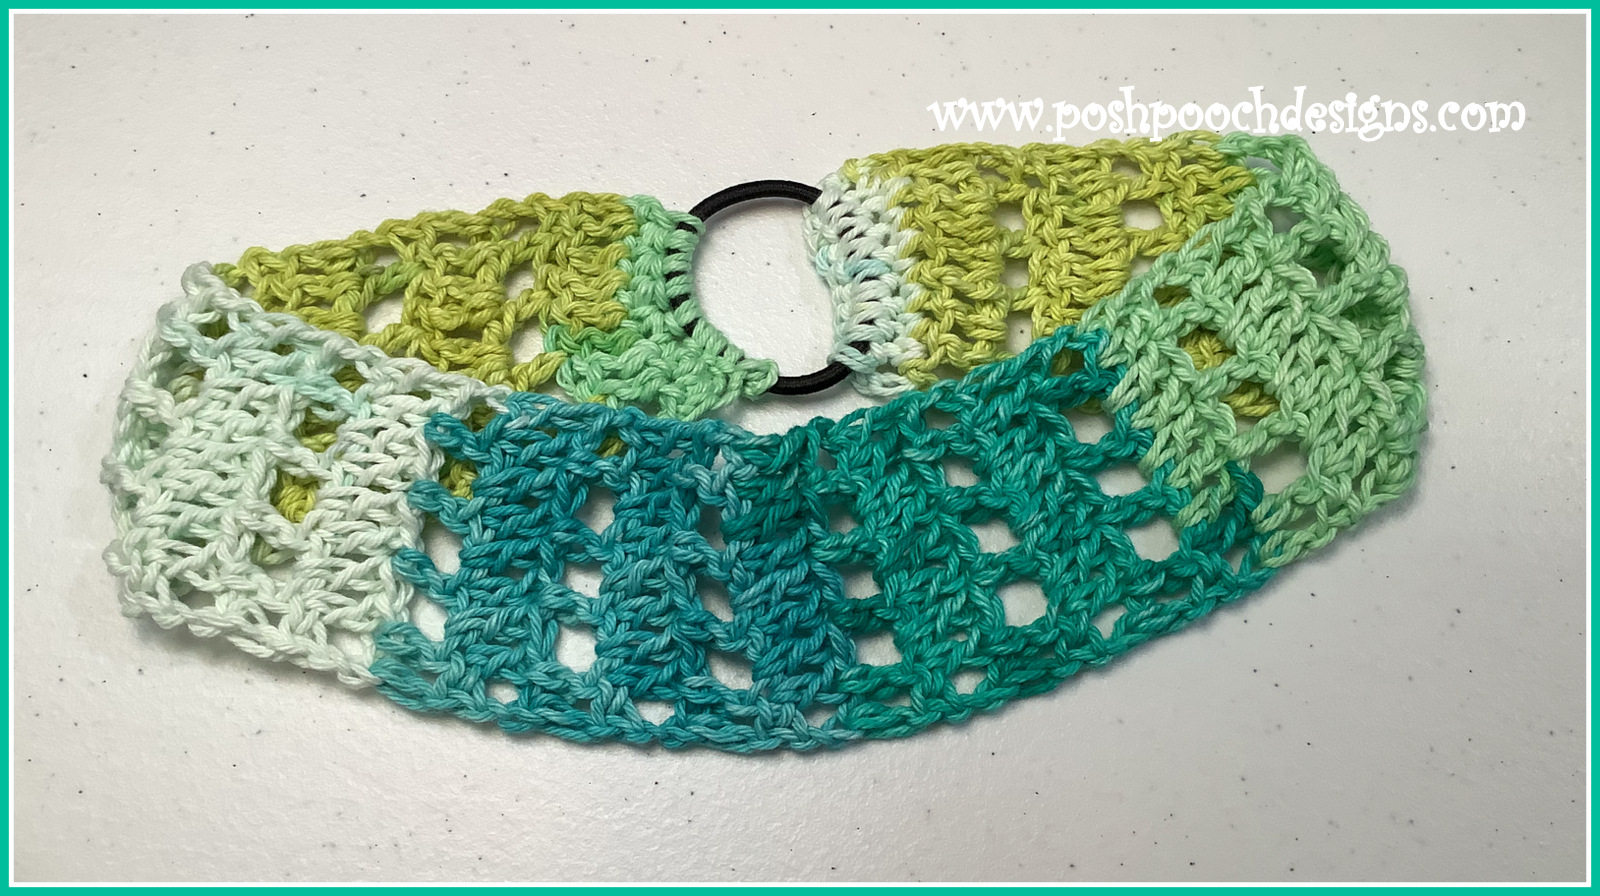
Ponytail Visor Headband
Crochet Pattern
By Sara Sach Of Posh Pooch Designs

IT'S FRIDAY FUN DAY!
This Friday Fun project is as much fun to crochet,
as it is to wear. I Love mine. Yes, I am keeping this one.
The Ponytail Visor Headband is a great Accessory to
keep in your bag or purse, or just leave it in the car.
Pull it out whenever it is needed. It's comfy to wear,
and because it's a ponytail headband,
you can throw you hair up in a pony tail or bun.
It's perfect for short hair styles, also.
It's even great for the guys, Everyone will want one!

I designed it using Premier Cotton Sprout Worsted
Multis And the colorway is called Fruit punch.
It's a Med (4) weight cotton yarn.

There are many lovely colorways in the yarn.
See All The colors at
You will not be disappointed

See The Video On My Crochet Youtube
Channel At This LINK
Ponytail Visor Headband Crochet Pattern
Please Add This Crochet Pattern To Your Ravelry Favorites
Crochet Hook – H / 5 mm
Yarn – Med (4) Cotton yarn – Premier Cotton Sprout
Worsted Multis /Fruit Punch ( 2 oz. /100 yards)
Elastic ponytail Band
Yarn needle
Stitches:
Chain (ch)
Slip Stitch (slst)
Single Crochet (sc)
Double Crochet (dc)
2 Double Crochet Together (2dctog) Double Crochet Decrease
Skip (sk)
Space (sp)
Cross Stitch (crst)
Sk the next dc, dc in the next dc,
cross back and dc in the sk st
Size: Fits 22 – 24 Head
Notes:
Ch1 does not count as a st
Ch3 counts as a double crochet
Pattern:
R: 1 – Join yarn
to the ponytail band with a slst, ch1
12 sc around the ponytail band, turn ch 1 (12 sc)
Elastic ponytail Band
Yarn needle
Chain (ch)
Slip Stitch (slst)
Single Crochet (sc)
Double Crochet (dc)
2 Double Crochet Together (2dctog) Double Crochet Decrease
Skip (sk)
Space (sp)
Sk the next dc, dc in the next dc,
cross back and dc in the sk st
Ch1 does not count as a st
Ch3 counts as a double crochet
12 sc around the ponytail band, turn ch 1 (12 sc)


turn, ch 1(12dc)


1 dc in the last 2 sc, turn, ch 1 (4 dc, 4 crsts)

1 dc in the last 2 sc, turn, ch 1 (4 dc, 4 crsts)


R: 11 - R:
42 –Repeat R: 9 And R: 10
Alternating rows
Alternating rows


turn, ch 1(12dc)

Tie off weave in the ends. (12 sc)

R: 48 - Join yarn to the 11th row, this will be a sc row,
Evenly sc 34 sts across to the 11th row
on the other end of the headband,
Turn, ch1 (34 sc)
Turn, ch1 (34 sc)


Dctog the last 2 sc, turn, ch 3 (32 dc)

Sctog the last 2 sc, turn, ch 1 (30 sc)
Sctog the last 2 sc, turn, ch 1 (28 sc)

(28sc)
Sc evenly down the side of the visor,
turn, slst back up the same side of the visor,
slst in each sc across the front of the Visor,
Sc down the other side of the visor, join to the headband with a slst,
Tie off weave in the ends.
Sc down the other side of the visor, join to the headband with a slst,
Tie off weave in the ends.

An Ad Free PDF file is Available
In My Ravelry Shop At This LINK
for $3.50