Showing posts with label Free Crochet Pattern crochet video. Show all posts

Monday, March 2, 2026

The "Quick" Tote Bag Crochet Pattern And Video By Sara Sach

 The "Quick" Tote Bag
 Crochet Pattern And Video
 By Sara Sach Of Sara Sach Crochet
Formerly Posh Pooch Designs


The Quick Tote Bag is designed using a 20 ounce 
Nestle Quick container, and it is super quick 
to stitch up. So, I  called It The "Quick Tote Bag".


My husband was making himself some 
chocolate milk, his favorite drink of choice, 
And finished the last of the Quick milk powder.
 He asked if I wanted the container.
I immediately said yes, and the idea to
 make a small tote bag with it came to my mind.

The book rings to hold the lid onto the 
container is optional. You do not even have 
to use the lid. Although I really like the
 lid for keeping things safe and dry inside.
I attached 2 book rings I purchased at Walmart.
I found them by the paper clips.
I just "drilled" small holes with my 
small had drill and slid the rings on.


The container measures 6.5 inches tall
 X 15 inches around and 2.5 inches deep. 
I think it's perfect size for everyday use, as well as, 
a great trip bag. It will fit your phone, wallet, and
still have room for your keys and lipstick.

Please note, you do not have to use the quick
 container, that bag will still work great without it. 

See The Video On My Crochet Youutbe Channel At This LINK


The “Quick” Tote Bag Crochet Pattern

Please Add This Crochet Pattern To Your Ravelry Favorites

 
Skill: Easy
 
Materials:
Crochet Hook – H/ 5 mm.
Yarn – Medium (4) Cotton Colors of Your Choice 6 oz.
Nesquik / Nestle Quick 20.1 oz. plastic container
2 Book Rings – 1 inch
1 Button – 1 – 1.5 inch
Yarn needle
 
Stitches:
Chain (ch)
Slip Stitch (slst)
Single Crochet (sc)
Double Crochet (dc)
Front Post Double Crochet (FPDC)
 
Size: 6.5 inches tall X 15 inches around,
         2.5 inches deep
 
Notes:
Ch1 does not count as a st
Ch 3 counts as dc
Color changes are not indicated in the pattern
 
Preparing the Quick Container:
Wash thoroughly, inside and out, both the container and the lid.
Line up the lid and container, poke 2 holes.
You can do this will a small drill, or a pointed awl, screwdriver.
Open the book rings, place them as shown in the pic.
Make sure they closed completely.
 
 
Pattern:

The Container Cover:
R: 1 – Ch 18, sc in the 2nd ch from the hook,
Sc in each ch across, Turn, ch 1 (17 sc)


R: 1 - Sc in each ch across, Turn, ch 1 (17 sc)
 
R: 3 – R: 7 – Repeat R: 2


R: 8 - Sc in each ch across, 2 sc in the corner (19 sc)
Turn Working down the side of your work,
6 sc evenly worked, 2 sc in the corner, (8 sc)
Evenly sc across the bottom of the row,
2 sc in the corner (19 sc)
Turn Working up the side of your work,
6 sc evenly worked, 2 sc in the corner, (8 sc)
Join to the 1st sc with slst, ch 3
(19 + 8 + 19 + 8 = 54 sc)


R: 9 – 1 dc in each sc around,
Join to the Ch 3 with a slst, ch3 (54 dc)


R: 10 - *FPDC in the next dc, dc in the next dc*
Repeat from * to * around,
Join to the Ch 3 with a slst, ch3 (27 FPDC, 27 dc)


R: 11 - *FPDC in the next FPDC, dc in the next dc*
Repeat from * to * around,
Join to the Ch 3 with a slst, ch3 (27 FPDC, 27 dc)


R: 12 – R: 25 -Repeat R: 11
Ch1 after R: 25


R: 26 – Sc in each dc around, join to the 1sc, tie off and weave in the ends.

The Lid Flap
 
R: 1 – Turn, ch 1, SC in the next 18 sc, turn, ch 1 (18 sc0
 
R: 2 - Sc in the next 18 sc, turn, ch 1 (18sc)
 
R: 3 - Sc in the next 18 sc, turn, ch 1 (18 sc)
 
R: 4 – R: 10 – Repeat R: 3

Make sure your flap is even.

Turn, working down the side of the flap, even sc,
Join to the next sc, ch 1
 
Ch1, turn working back up, slst in each sc,
 
Sc across the top of the flap, to the 10th st,
Ch 15, turn, skip the 1st 10 chs,
Sc in the last 5, chs, join to the next sc,
Sc in the last 9  sc,
 
Working down the other side of the flap, even sc,
Join to the next sc with a slst,
tie off, weave in the ends.


Bag Strap:
 
R: 1 – Starting an 8 inch tail of yarn,
6h 6, 1 sc in the 2nd ch, and in each ch, turn, ch 1 (5 sc)
 
R: 2 – Sc in each sc, turn, ch 1 (5 sc)
 
R: 3 - Sc in each sc, turn, ch 1 (5 sc)
 
R: 4 – R: 100 – Repeat R: 3
Tie off leaving an 8 inch tail of yarn.


With the tails of yarn and a needle, attach the ends of the Strap
To the sides of the Bag.
 
Line up and sew the button in place.
 
Slide The Quick container In place, the lid should snap into place.
The rings will keep you from losing the lid.
And you are set to go.


An Ad Free PDF file Is Available
In My Ravelry Shop At This LINK
for $4.50


Friday, April 5, 2024

FRIDAY FUN DAY! Tulip Headscarf And Cowl Crochet Pattern By Sara Sach

FRIDAY FUN DAY!
 Tulip Headscarf And Cowl
 Crochet Pattern

By Sara Sach Of Posh Pooch Designs


It's Friday Fun Day!

This Weeks Crochet Pattern is 
The Tulip Headscarf And Cowl
It looks lovely worn around your hair, 
as a pretty Spring scarf or as a cowl. 
Even a Belt.
I Just love a versatile project, don't you?


The 4 Double Crochet Cluster Stitches give the scarf
fun and flirty a look of Spring Tulips. The is only about 
4.5 inches wide, and make a perfect Spring And
 Summer Accessory for any outfit.


Premier Yarn LINK

I designed This Scarf using Premier yarn Cotton Sprouts
 in both the Island Breeze and Turquoise color ways. 
I did it half and half, because that is what I has left
 on my skeins of yarn. I just absolutely love the way 
it stitched up. It Looks like the perfect scarf for a 
day at the beach, pool or a picnic.

I am going to look through some of my other left over 
skeins of cotton yarn and see what other combinations
 I can come up with.


See The Video On My Crochet Youtube
 Channel At This LINK


Tulip Headscarf And Cowl Crochet Pattern

Please Add This Crochet Pattern To Your Raverly Favorites
 
Skill: Easy
 
Materials:
Crochet Hook – H / 5.00MM.
Yarn – Medium (4) Cotton – Premier Cotton Sprout 
                                   C1 - 1.5 oz. Island Breeze 1 oz.
                                   C2 - 1.5 oz. Turquoise 1 oz.
Stitches:
Chain (ch)
Double Crochet (dc0
 V stitch (Vst)
Skip (sk)
Space (sp)
 
Special Stitch -
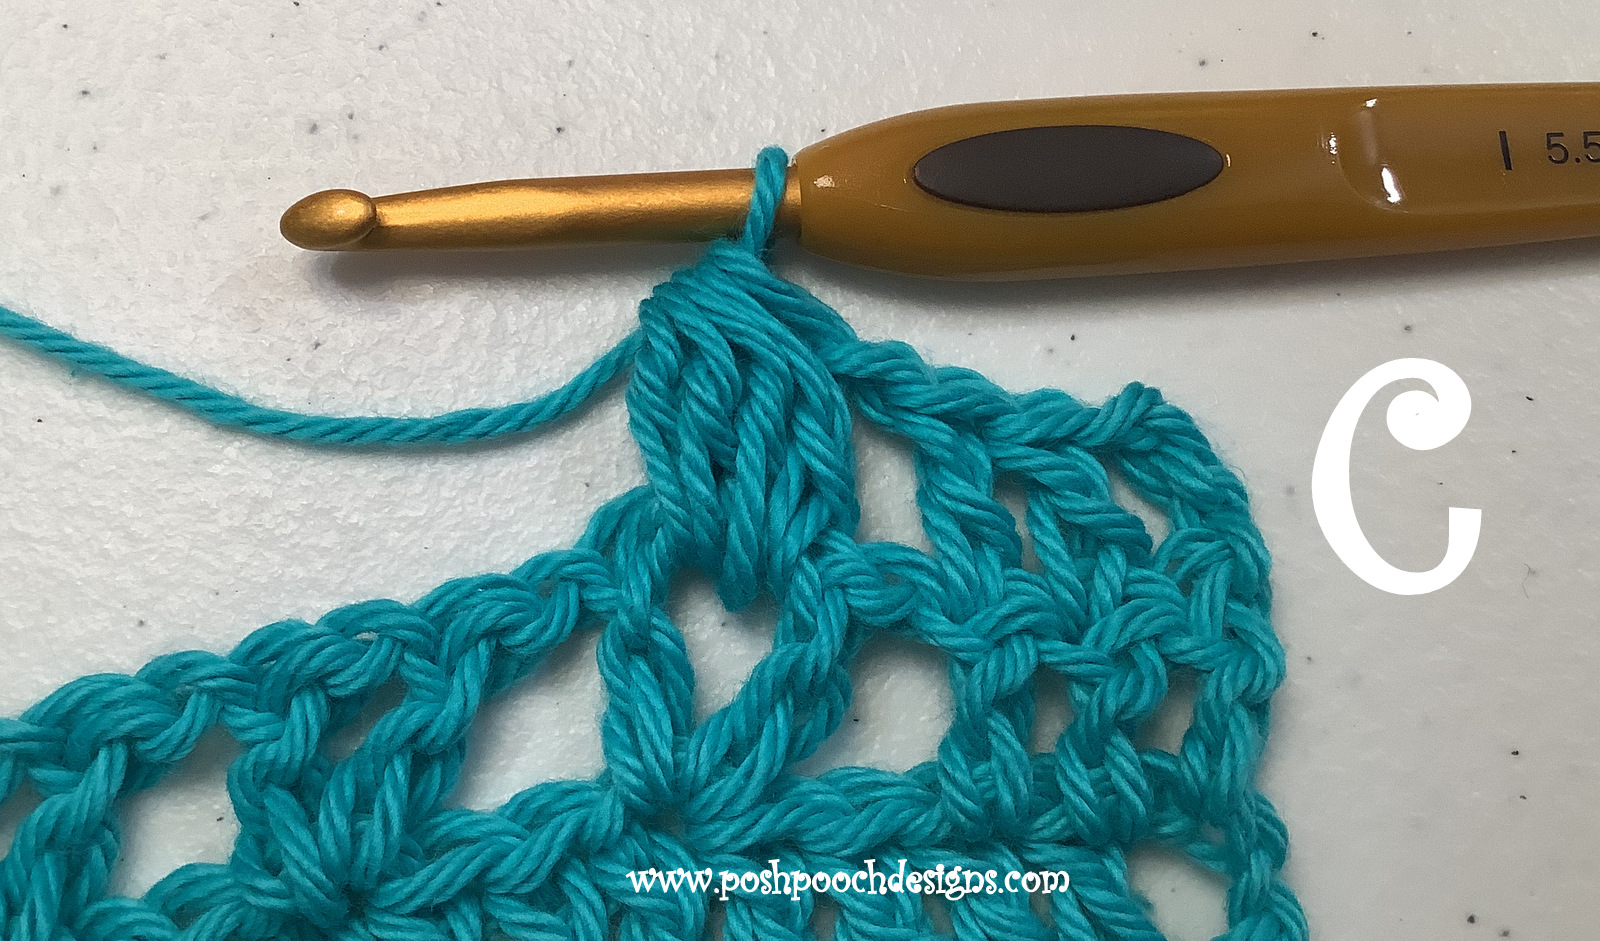
4 Double Crochet Cluster (4dccl) Yo, insert hook in the next st,
yo, pull the yarn through the st, yarn yo,
pull the yarn through the 2 loops on the hook


Repeat 3 more time – You will have 4 “uncompleted dc”


YO, pull yarn through all 5 loops on the hook


And Ch1


Size: 4.5 X 30 inches
4 rows (1 repeat) 2.5 inches
Multiples of 3 + 8
 
Notes:
Ch3 Counts as a dc
 
Pattern:
 
R: 1 – With C1, Ch 19, dc in the 4th ch from the hook,
1 dc in each ch across, ch3, turn (17 dc)


R: 2 – 1 dc in each dc across, ch3, turn (17 dc)


R: 3 – Dc in the next 2 dc, sk 2 dc, ch1,
*Vst in the next dc, ch1, sk 2 dc*
Repeat From * to * 2 more times,
1 dc in the last 3 dc, ch3, turn (6 dc, 3 Vst)

 
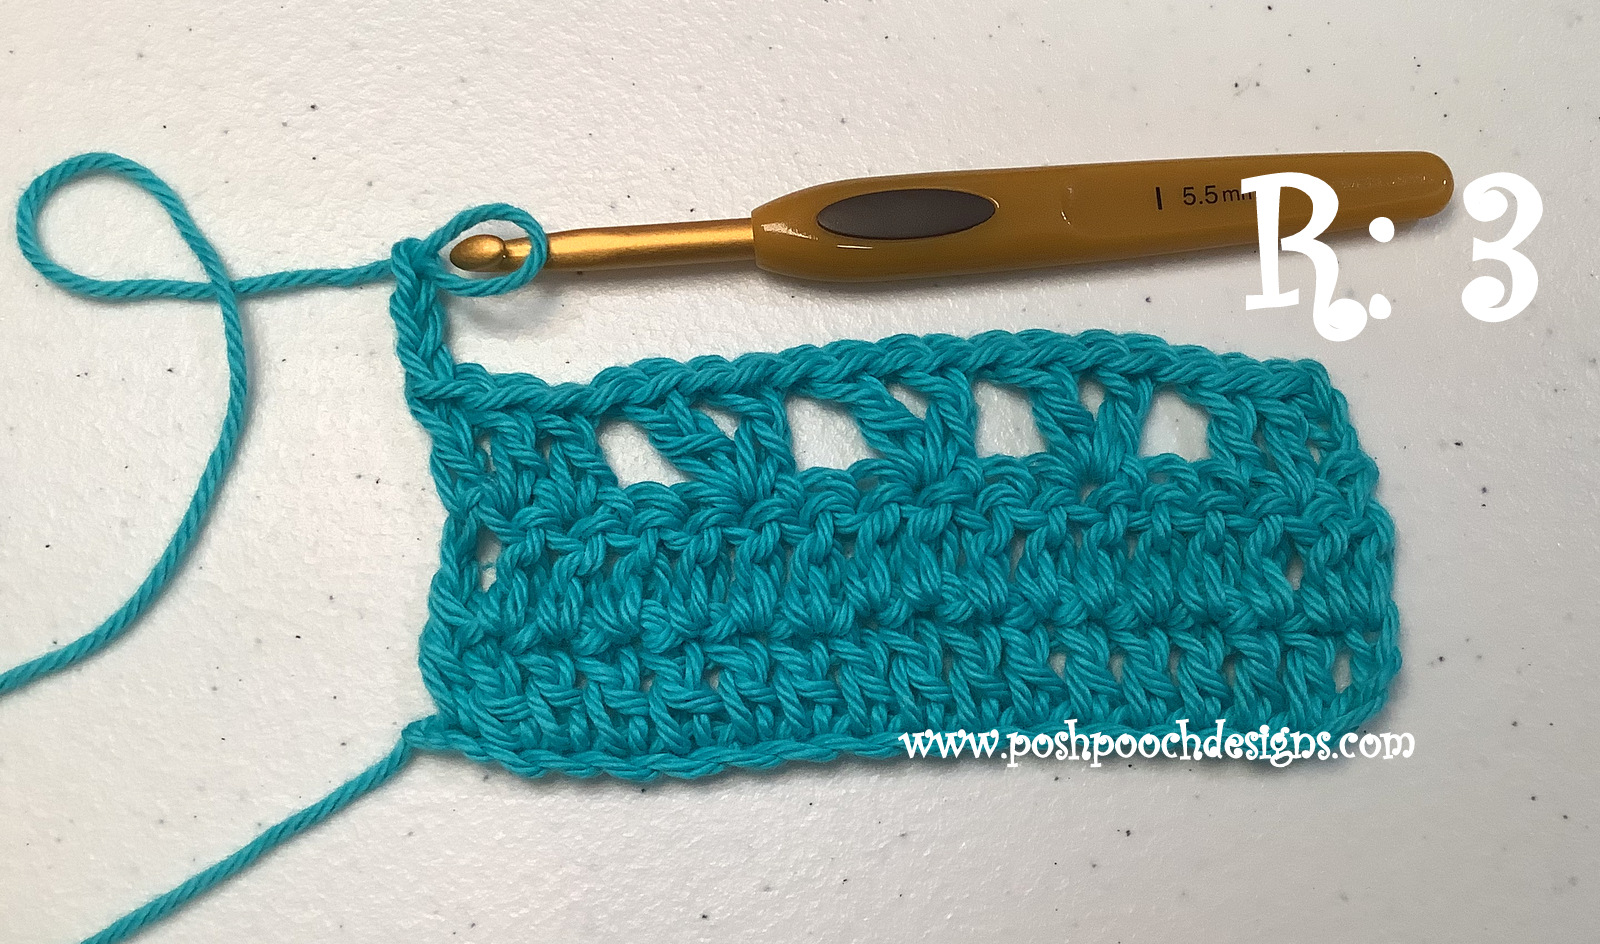
R: 4 – Dc in the next 2 dc, ch1,
*4dccl in the ch1 sp of the next Vst, ch1*
Repeat From * to * 2 more times,
1 dc in the last 3 dc, ch3, turn (6 dc, 3 4dccl)


R: 5 - Dc in the next 2 dc, 2dc in the ch1 sp,
*1 dc in the 4dccl, 2dc in the ch1 sp*
Repeat From * to * 2 more times,
1 dc in the last 3 dc, ch3, turn (17dc)

 
R: 6 -  1 dc in each dc across, ch3, turn (17 dc)


R: 7 – R: 36 -
Repeat R: 3 – R: 6 for 8 more times


R: 37 – R: 72 – Chgto C2
Repeat R: 3 – R: 6 for 8 more times


Scarf - Tie off and Weave in the ends.
Same For Belt.
 
Cowl – Place the ends together and
 slst them together to form a circle.


Twist and then join For the infinity Scarf

And Ad Free PDF File is Available
In My Ravelry Shop At This LINK
For $3.50