Showing posts with label crochet chick. Show all posts

Friday, March 1, 2024

Little Fuzzy Chick Stuffies Crochet Pattern By Sara Sach

 Little Fuzzy Chick Stuffies 
Crochet Pattern 
By Sara Sach of Posh Pooch Designs


🐤🐤🐤🐤🐤🐤🐤🐤🐤🐤🐤🐤🐤🐤🐤🐤

I Just Love The Fuzzy Little Chick
 Stuffies So Much!

The Sweet little Fuzzy Chick Stuffies are made using
 Premier Parfait Chunky Pom pom yarn. 
 I love how all the
 little "pom poms" are spread through out
 the yarn. It gives it such a playful appearance. 


They are so soft and fuzzy, just like a real new baby chick!
I think I need to make a whole basket full of them!

Click The Link To See All The Colors
 And Lot's Of Other Yarns As Well.
Premier Link

They are so sweet and squishy and 
so fun to stitch up. make one in every color and
 use them Easter And Spring decorations.
 Add Them to Easter baskets or just have with them.

See The Video On My Crochet Youtube
Channel At This LINK


Little Fuzzy Chick Stuffies Crochet Pattern 

Please Add This Crochet Pattern To Your Ravelry Favorites
 
Skill - Easy
 
Materials:
Hook: J / 6 MM
Yarn: Bulky (6) Premier Parfait chunky Pom pom
                          C1 – yellow 1 oz. - body
                          C2 – Orange – Small amount - beak
                           C3 – Small amount of med (4) Black for eyes
Fiber Fill - small amount
Yarn needle
 
Stitches:
Chain (ch)
Slip Stitch (slst)
Single Crochet (sc)
Half Double Crochet (hdc)
Double Crochet (dc)
 
Size: 4 X 5 inches
 
 
Pattern Notes:
Ch 1 at the end of round does not count as a st,
 
Pattern:
 
R: 1 - Ch 20, join in a circle, do not twist ch, ch 1
1 sc in each ch around, join with a sc, ch 1 (20 hdc)


R: 2 - *1 sc in the next 2 sc, 2 sc in the next sc*,
 Repeat from * to * around, join, ch 1, (26 sc)


R: 3 - 1 sc in each sc, join, ch 1 (26 sc)


R: 4 – R: 6 - Repeat R: 3, do not tie off.


R: 7 - Tail Feather, ch 10, slst to the 1st ch, ch 9, 
join ch to the 1st ch, 2 loops or feathers made. 


R: 8 -
Fold Chick in half, with tail feather to the right,
we will be stitching through both sides
 of the chick to sew top closed.
 1 slst in the 1st, 1 sc in the next 7 sts, 2 hdc in the next st,
2dc in each of the next 2 sts,1sc and 1 slst in the last st,
cut yarn and weave in end. 
(slst, 7 sc, 2 hdc, 4 dc, 1sc, 1 slst)


Beak:
Ch 4, slst in the 2nd ch, 1 sc in the next st, 1 hdc in the next st, it off, 
Attach  beak on the front of the chick. See picture for placement.


Stuff the chick, slst the bottom closed with matching yarn,
 Tie off weave in the ends. 

Eyes - With Black or Brown yarn make a small straight st
 on each side of the chick head.


🐤🐤🐤🐤🐤🐤🐤🐤🐤🐤🐤🐤🐤🐤🐤🐤

An Ad Free PDF file Is Available
In My Ravelry Shop At This LINK
 For $ 2.50


Thursday, April 6, 2017

How To Make Easter Egg Bath Bombs | Posh Pooch Designs

These Bath Bombs are simple to make and make great gifts.
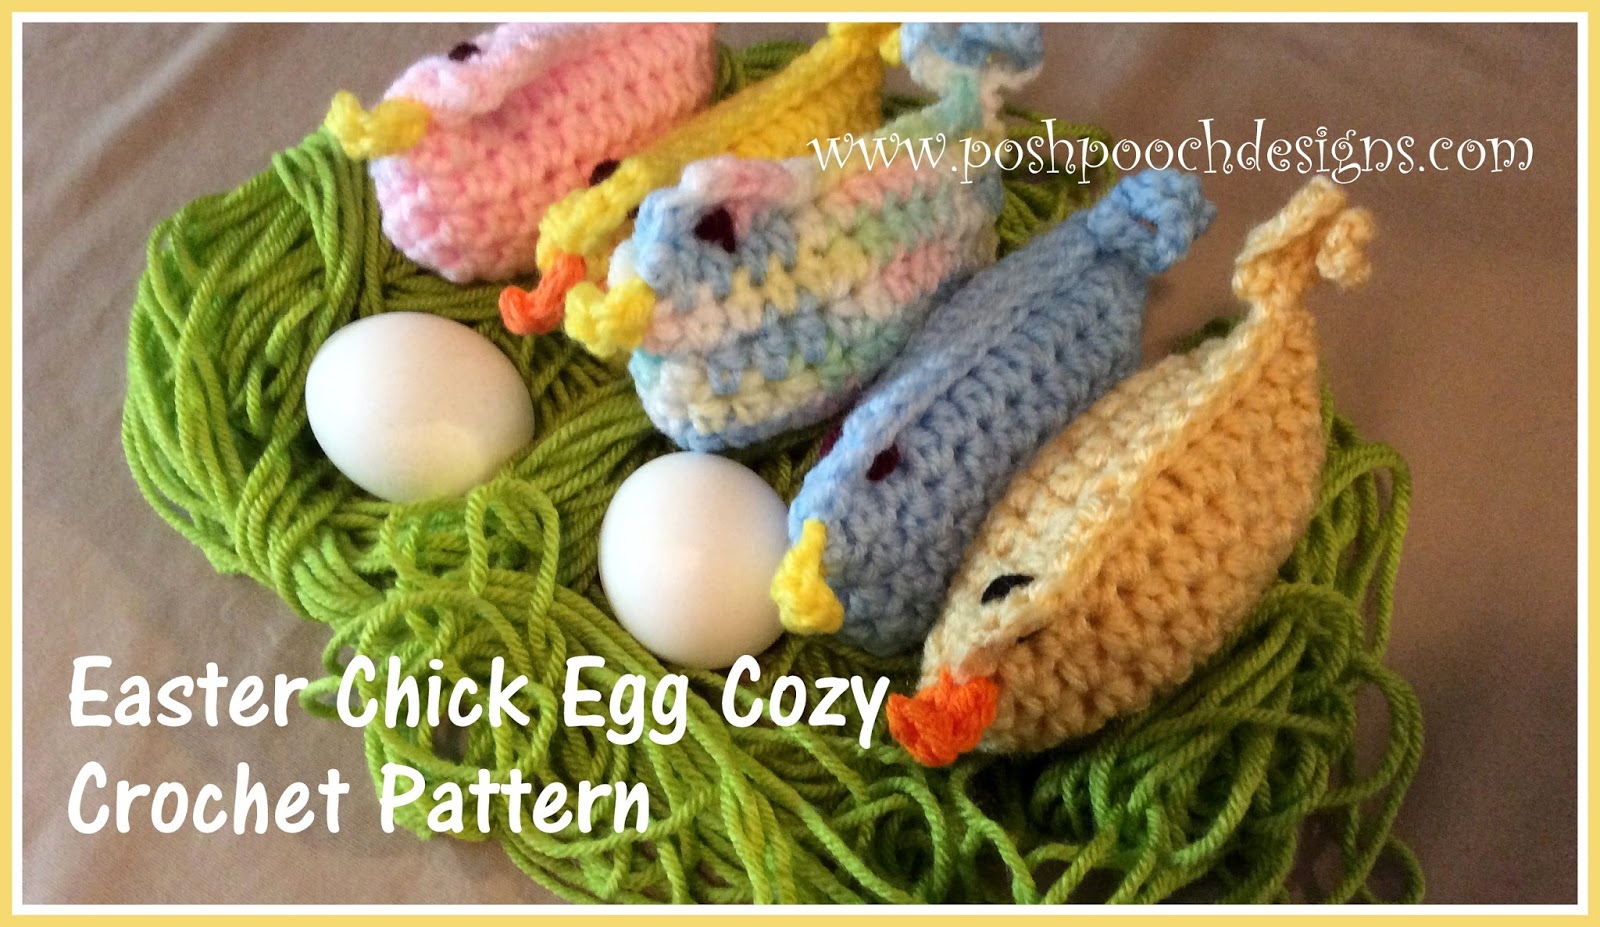
You put one in a Egg cozy, like my "little Chick Egg Cozy.
I made these in Bright Colors For my Crochet Group Friends, 
I hope they love them! 
Crochet Pattern at this LINK

And your friends will love them.
Make Sure to tell them.."DO NOT EAT THIS"!
These Easter Eggs are for taking a Hat bath to Relax.

See The How to Video on my Youtube Channel
 at This LINK

How To Make Easter Egg Bath Bombs

Makes 4 Eggs – 1.57 Inch

Ingredients:
1. ¼ Cup   Epsom Salts / Lavender
      (I used Sprouts brand with the lavender Essential oil already in it.)
2. ½ Cup Baking Soda
3. ¼ Cup Corn Starch
4. 3 Tablespoons Coconut oil softened (I used organic Coconut)
1 Teaspoon Water

Tools:
Plastic Easter eggs - 1.57 inch
Large Bowl
Spoon 
Measuring Spoons and Cups
Empty Egg Carton


Mix the 1st 3 in a bowl.

Add the Coconut oil and mix until it forms a sticky crumbly
mixture, and stick together.

Using your hands put the mixture into molds.
 let set for 15 minutes before removing from the molds.

Wait about 24 hours before using or giving away.

Have fun and Happy Easter!

Friday, March 14, 2014

Momma Chick Stuffie Crochet Pattern

This is the Momma Chick Crochet Pattern
By Sara Sach of
 Posh Pooch Designs


The "Spring CAL 2019 -
 Momma and Baby Chicks"
April 1st - April 5th

The Steps are listed.
The Video is added at Each step.


Momma chick Crochet Pattern By Sara Sach


Please ,Add This Crochet pattern To Your Ravelry Favorites

Skill - Easy

Materials:
Hook: H / 5.00 MM
Yarn: Worsted Weight Yarn (4) , ( 4 oz total) I used some Red Heart Super Saver
             Light blue, light pink, lemon yellow, small amount of orange and Black
Fiber Fill - Stuffing
Yarn needle

Stitches:
Chain (ch)
Slip Stitch (sl st)
Single Crochet (sc)
Half Double Crochet (hdc)
Double Crochet (dc)
Half Double Crochet Decrease (hdc dec)

Pattern Notes-
Chick measures about 11 inches wide and 10 inches tall
Ch 1 at the end of round does not count as a st,
I added the Color changes, but you can stripe it how ever you want.

Step 1 - R: 1 - R:6
See The Video For Step 1  At This LINK


R: 1 - With Blue yarn, Ch 42, join in a circle, 
being careful not to twist the ch, join, ch 1

R: 2 - 1 hdc in each ch around, join with a sl st, ch1 (42 hdc)

R: 3 - *1 hdc in the next 3 hdc, 2 hdc in the next hdc*, 
Repeat  from *to* around, join, ch 1 ( 52 hdc)

R: 4 - 1 hdc in each hdc, join, ch 1 ( 52 hdc)

R: 5 - Repeat R : 3 (65 hdc)

R: 6 - Repeat R : 4 (65 hdc)

Step 2 - R: 7 - R: 16 -
See The Video For Step 2  At This LINK


R : 7 - Change to pink yarn, Repeat R : 4

R: 8 - R: 10 - Repeat R : 4

R: 11 - Change to yellow yarn, Repeat R : 4

R: 12 - R: 14 - Repeat R : 4

R: 15 -  Change back to pink yarn, Repeat R : 4

R: 16 - Tail Feathers - Ch 13, attach ch to the 1st ch with a sl st, ch 11, 
attach ch to the same lst ch


Step 3 - R: 17 - R: 22 
See The Video For Step 3  At This LINK


To Sew Closed the Chick back - Fold Chick in flat, slst the 1st 2 sts together,
st 1 sc in each of next 16 sts,
stitching through bother layers (the front and back)

Forming the chick neck_- Working only in the front side, 1 hdc in the next 16 sts,
 turning and working across the back layer, 1 hdc in the next 16 sts,
 join with a sl st to the 1st hdc, ch 1
This will form an opening or hole, to form the chick neck around.
 (1 slst,16 sc, 32 hdc = 65 sts) 

R: 17 - 1 hdc in each hdc around the chick neck, join, ch 1(32hdc)

R  18 - 1 hdc in the 1st 15 hdc,  st the next 2 hdctog,  1 hdc in the next 15 hdc,  join,
ch 1 (30hdc, 1 hdc dec)

R: 19 - 1 hdc in the 1st 14 hdc,  st the next 2 hdctog,  1 hdc in the next 14 hdc,  join,
ch 1 (28hdc, 1 hdc dec)

R: 20 : 1 hdc in the 1st 13 hdc,  st the next 2 hdctog,  1 hdc in the next 14 hdc,  join,
ch 1 (27hdc, 1 hdc dec)

R: 21- 1 hdc in each hdc, join , ch1 (28 hdc)

R: 22 - 1 hdc in each hdc, join , ch1 (28 hdc)

Step 4- R : 23 - R : 25, Beck and Eye
See The Video For Step 4  At This LINK


R: 23 - Change to Blue yarn, Working through both layers of the chick neck/head, 
to sew closed, 1 hdc in each hdc, join, ch1, turn ( 14 hdc)

R: 24 -  St the 14 sts as indicated:

O  O  O  O  O  O  O  O  O  O  O  O  O  O
sc     hdc   2dc  2dc  dc    hdc  hdc  hdc   hdc  hdc    sc     sc    sc    slst

Turn, Ch 1


R: 25 -St the 16 sts as indicated:

o o o o o o o o o o o o o o o o 
slst  slst  sc   sc   sc   hdc  hdc hdc  dc    dc  dc   dc    sc    sc    sc  slst slst

Tie off, weave in the ends.

Beak -
Ch 5, 1sl st in the 2nd ch from the hook, sc in the next ch, hdc in the next ch, 
dc in the next ch, ti off and sew on chick face

O O O O O
       slst, sc, hdc, dc, tie off


Sew on eyes by stitching straight sts with brown or black yarn.


Step 5 - Stuffing and Finishing

See The Video For Step 5  At This LINK


Option 1:
Stuff the Momma Chick with the poly fill, then with matching 
yarn sew the bottom closed.

Option 2: 
Do not stuff the Momma Chick. 
and put the baby chicks inside for a fun play set.

Option 3:
 make a pillow Form as shown in the Video, so th stuffing stays put, 
and does not show through the stitches.


 Instant download PDF file of this pattern,
 including the baby chicks,
For $3.50 in my RAVELRY Shop Click  HERE