
Tropicana Summer Top
Crochet Pattern
By Sara Sach Of Posh Pooch Designs

The Tropicana Summer Top is designed to be open
and light. It can be worn over a tank top or sun dress.
It makes a nice Swim Suit cover, also.
This Top is a great project if you have never made
a crochet top and ant to learn. It is basically
2 rectangles, joined to make a lovely top.
I think You will be surprised how easy this top is to make,
and how comfortable it is to wear.

The Pattern includes Sizes Small, Medium, Large,
Extra Large and 2 x. The length is totally up to you.
If you are short, you won't need to add to the length,
but if you prefer a longer top, just add more rows.
Be Sure to measure as you work for a great result.
See The Video On My Crochet Youtube
Channel At This LINK
Tropicana Summer Top Crochet Pattern
Please Add This Crochet Pattern To Your Raverly Favorites
Skill: Easy
Crochet Hook – I/ 5.5 MM
Yarn –Med (4) Caron/ Blossom Cake (61 % Cotton, 39 % Acrylic)
Tropical Blooms – S – 6 oz., M – 7 oz, L – 8 oz, XL – 9 oz, 2 XL – 10 oz.
Tape Measure
Yarn Needle
Chain (ch)
Double Crochet (dc)
Skip (sk)
Space (sp)
V Stitch (Vst) – (dc, ch1, dc in the same st)
Shell Stitch (shst) – 3 dc in the same sp or st
Pattern written in Small, other sizes in Parenthesis.
Ch3 Counts as a Double Crochet
Video/ phot Demo is Med (4) impeccable, soft pink
Pattern:
Make 2, A Front and A Back Piece.
working our way to the top.
1 dc in each ch across, turn, Ch 3
(58, 66, 74, 82, 90 dcs).

turn ch3 (58, 66, 74, 82, 90 dcs).

*Sk the next 2, 1 dc in each of the next 2 dc*
Repeat From * to * Across Row,
sk next 2 dc, 1 dc in each of the last 4 dc, turn, ch3
(4 dcs, (12, 14, 16, 18, 20 sets of sk2, 2dcs) ch1, 4dcs)

*ch1, Shst between the next 2 dc*
Repeat From * to * Across Row,
Ch1, 1 dc in the last 4 dc, turn, ch 3
(4 dcs, (12, 14, 16, 18, 20 Shst, 2dcs) ch1, 4dcs)

*ch1, Shst in the 2nd dc of the next shst *
Repeat From * to * Across Row,
Ch1, 1 dc in the last 4 dc, turn, ch 3
(4 dcs, (12, 14, 16, 18, 20 shsts, 2dcs) ch1, 4dcs)

*ch1, dc in the next dc, ch1, sk the next dc, dc in the next dc, ch1*
Repeat From * to * across row,
Ch1, 1 dc in the last 4 dc, turn, ch 3
(4 dcs, (24, 28, 32, 36, 40 dc, ch1,) ch1, 4dcs)

*ch1, dc in the next dc, ch1, dc in the next dc, ch1*
Repeat From * to * across row,
Ch1, 1 dc in the last 4 dc, turn, ch 3
(4 dcs, (24, 28, 32, 36, 40 dc, ch1,) ch1, 4dcs)

*Ch1, sk the next ch1 sp, sk the next dc, shst in the next ch1 sp, ch1*
Repeat From * to * across row,
(4 dcs, (12, 14, 16, 18, 20 shst, 2dcs) ch1, 4dcs)
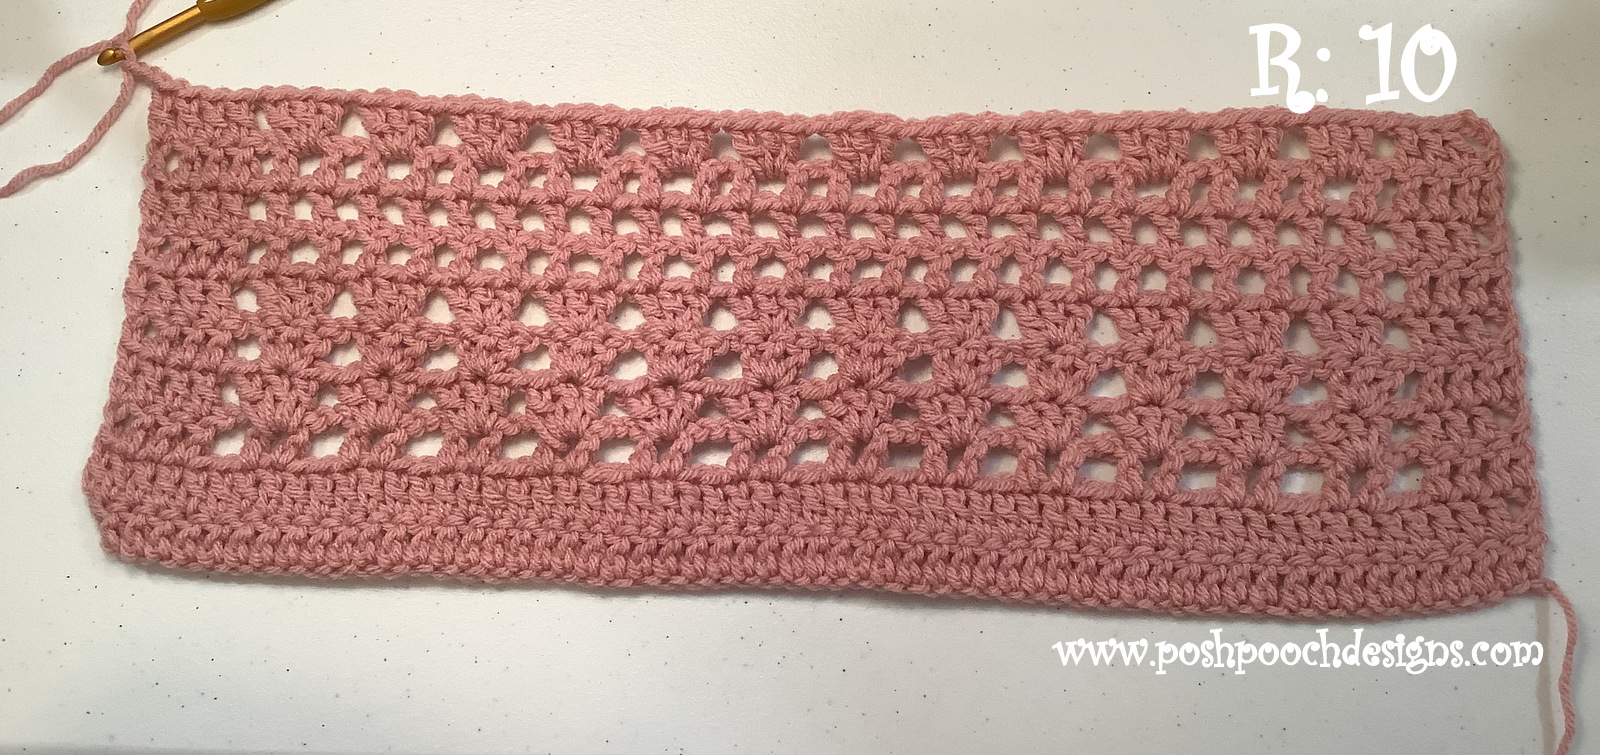

Alternating the shst and Dc, ch1 Rows – Every 3 Rows

If more length is needed continue to repeat R: 6
R: 31 - Repeat R : 7

R: 32 - 1 dc in each dc, and Ch1 space across,
tie off weave in your ends.
Repeat R: 1 – R: 32 – You need
a front and a back
Assembly:
Shoulders, And Neck Opening –
Place the 2 pieces together at the top.
Join yarn to one side, sc going through the front
and the back of the top,
Stitching 10(12, 14, 16, 18) sc,
Sc only working through
the back of the top until only
10(12, 14, 16, 18) stitches remain,
Again, stitch sc going through the front and the back of the pieces.
Slst across
those 10(12, 14, 16, 18) stitches,
Sc across the front opening
of the piece,
Sl st across the beginning10(12, 14, 16, 18)stitches,
tie off and weave in your ends.
Place the 2 pieces together at the top.
Join yarn to one side, sc going through the front
and the back of the top,
Stitching 10(12, 14, 16, 18) sc,
10(12, 14, 16, 18) stitches remain,
Again, stitch sc going through the front and the back of the pieces.
tie off and weave in your ends.

Join your yarn and st slst evenly for your size.
stitching the front and back together.
You can adjust the length from the shoulder
and the amount of sts as you need.


Repeat on The other side of the top. Flip over to the right side.
Tie off and weave in all your ends.


Repeat on The other side of the top. Flip over to the right side.
Tie off and weave in all your ends.

An Ad Free PDF File is available
In my Ravelry Shop At This LINK
For $4.50

No comments:
Post a Comment