Showing posts with label Tp cover. Show all posts

Monday, September 26, 2022

All Year Toilet Paper Cover Crochet Pattern | Posh Pooch Designs

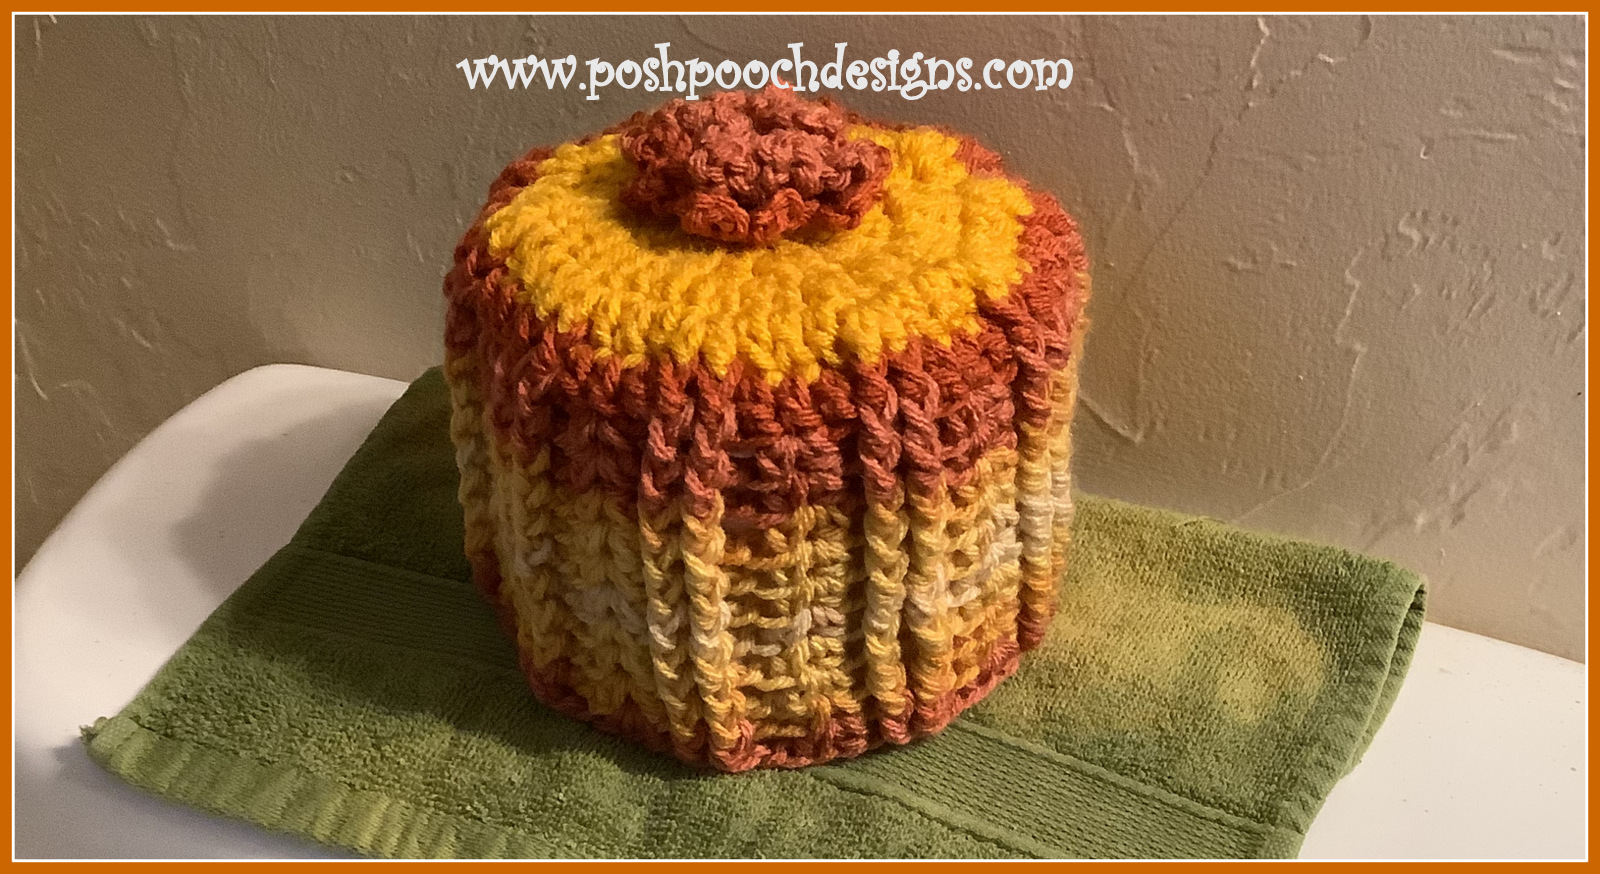
All Year Toilet Paper Cover 
Crochet Pattern
 By Sara Sach of Posh Pooch Designs


The Toilet Paper Cover is designed to work for 
any Season, and Holiday.
Make one to match your guest bathroom colors, 
or to decorate for any time of year.
Use solids, stripes, variegated, ombres or 
what Yarn colors you choose.


It takes less than a skein of yarn, so you can use up some
 those left over yarns and dress your powder.
The Pattern is fun and easy, and this project will 
work up super quick. It's a lot of fun stitch up also.


I made one for Fall, one for Halloween,
 And one for Christmas. but I lots of plans, 
and left over yarns, to make some more.


See The Video On My Crochet Youtube 
Channel At This LINK


All Year Toilet Paper Cover Crochet Pattern

Please Add This Crochet Pattern To Your Ravelry Favorites


 Skill: Easy
 
Materials:
Crochet hook – H / 5.00 MM
Yarn –Med (4) Acrylic 2.5 oz. Any colors of your choosing
Yarn Needle
 
Stitches:
Chain (ch)
Slip Stitch (slst)
Front Post Double Crochet (fpdc)
Half Double Crochet V Stitch (hdc Vst)
Skip (sk)
Space (sp)
 
Size: Fits a standard size TP Roll - 16 inches around, 7 inches tall
 
Notes:
Ch3 Counts as dc – R: 1 – R: 5
Ch3 Counts as Hdc, ch1 – R: 6 – R: 12
Ch1 does not count as a st
 
Pattern:
 
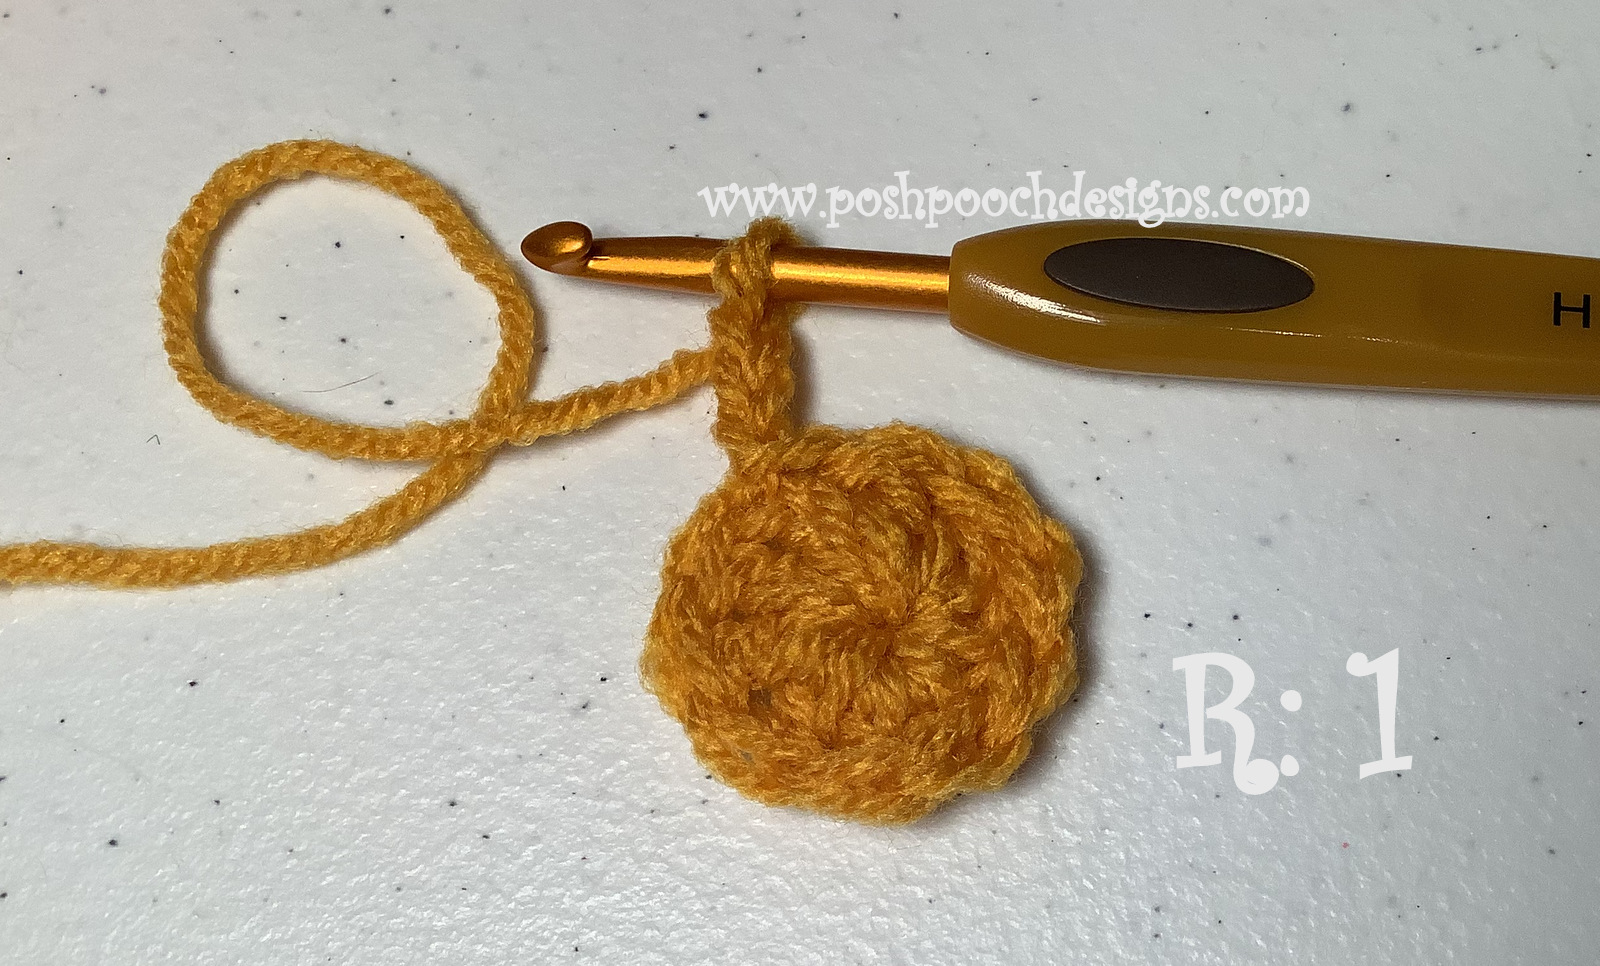
R: 1 – Ch5, join in a circle, ch3, 9 dc, 
join to the ch3 with a slst, ch3 (10 dc)
 
R: 2 – Dc in the same st as the ch3, 2 dc in each dc around,
 Join to the ch3 with a slst, ch3 (20 dc)

R: 3 - Dc in the same st as the ch3, 2 dc in each dc around,
 Join to the ch3 with a slst, ch3 (40 dc)


R: 4 – 1 dc in the next 2 dc,
*2dc in the next dc, 1 dc in the next 3 dc*
Repeat From * to around, join to the ch3 with slst, ch 3 (50 dc)


R: 5 – 1 dc in the next 2 dc,
*1 fpdc in the next 2 dc, 1 dc in the next 3 dc*
Repeat From * to * around, join to the ch3 with a slst
(30 dc, 20 fpdc)


R: 6 – Slst in the next dc, (this is the center dc of the 1st 3)
Ch3, hdc in the same st, ch 1, fpdc in the next 2 dc,
*Ch1, hdc Vst in the 2nd dc, ch1, fpdc in the next 2 fpdc*
Repeat From * to * around, join to the ch3,
slst in the ch1 sp of the 1st hdc Vst, ch3
(10 hdc Vsts, 20 Ch1, 20 fpdc)
 

R: 7 – ch1, Hdc in the ch1 sp of the 1st hdc Vst,
ch1, 1 fpdc in the next 2 fpdc, ch1,
*Hdc Vst in the ch1 sp of the next hdc Vst,
ch1, 1 fpdc in the next 2 fpdc, ch1*
Repeat From * to * around, join to the ch3,
slst in the ch1 sp of the 1st hdc Vst, ch3
(10 hdc Vsts, 20 Ch1, 20 fpdc)


R: 8 – R: 15 – Repeat R: 7
Tie off and weave in your ends. 

Loopy Flower Crochet Pattern By Sara Sach


Skill: Easy


Materials:

 Crochet Hook: H/5MM

Yarn -Any Worsted Weight (4) (WW-4)

Yarn Needle


Stitches:

Chain (ch)

Slip Stitch (slst)

Front loop Only (flo)

Back Loop Only (blo)


Size: 2.5 inches


Loopy Flower -

R: 1 - Ch 4, form a ring, 10sc in the ring, join with a slst.  (10sc)


R: 2 - *ch 10, sl st in the FLO of the next st*,

Repeat From * to * 9 times for 10 petals. (10 loopy petals)


R: 3 - Working in the BLO of R: 1, Repeat R: 2


R: 4 - *ch 10, sl st in the FLO of the next st*,

Repeat From * to * 14 times for 15 petals. (15 loopy Petals)

Tie off leaving a 12 inch tail of yarn.

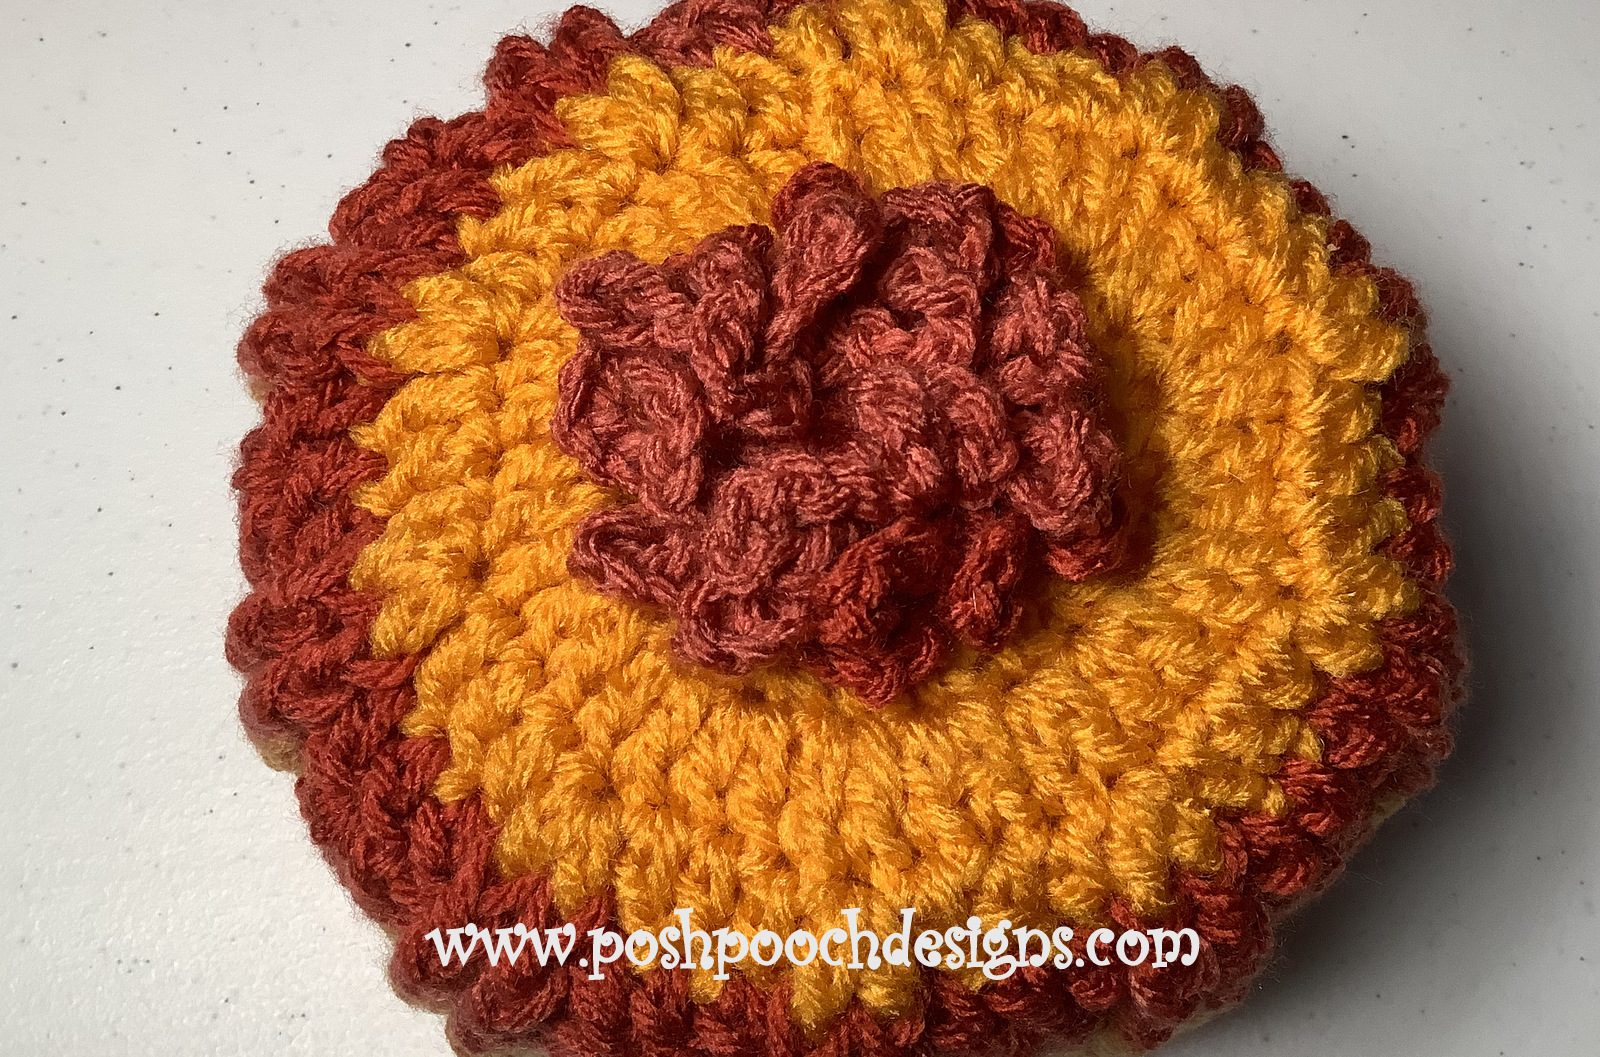
With needle and yarn tail attach the flower to the center of the TP Cover.


An Ad Free PDF file is Available
In My Ravelry Shop At This LINK
 for $3.50


Monday, November 8, 2021

Christmas Gnome TP Cover Crochet Pattern | Posh Pooch Designs

 Christmas Gnome TP Cover 
Crochet Pattern
 By Sara Sach of Posh Pooch Designs


This is just the cutest thing!
How Cute will he be sitting in Your 
Christmas decorated Bathroom?
Such a Holly Jolly Fellow!

I designed this Silly Gnome with I Love This Yarn sparkle/
 metallic yarns from Hobby Lobby. I chose Traditional
 Christmas colors of Red, Green and White. But, you
 use any colors to make your Holiday decorations.
Any med (4) yarn will work, and if you don't have 
the sparkle yarn, regular if just fine.
I just wanted it to have some pizzazz!


One thing I discovered is that the Tp of a few years
 ago is taller than the TP I buy now. So depending on 
what brand you buy you may need adjust the height
 of you TP Christmas Gnome cover.


See The Video On My Crochet Youtube
Channel At This LINK


Christmas Gnome TP Cover Crochet Pattern By Sara Sach


Please Add This Crochet Pattern To our Ravelry Favorites


Skill: Easy


Materials:

Toilet Paper Roll

Crochet Hook - I / 5.50 MM

Yarn Needle

Yarn: Worsted Weight (4) I used I Love This Yarn Sparkle

          C1 – Red (1.5 oz.), C2 – White (1.5 oz.), C3 – Green (1.5 oz.)

          C4 – Light beige (small amount) C5 – Ivory (.5 oz.)

 Roll of TP

Christmas Decorative Buttons - 1 or 2)


Stitches:

Chain (ch)

Slip Stitch (slst)

Single Crochet (sc)

Double Crochet (dc)

Back Loop Only (blo)

Change to (chgto)

Front Post Double Crochet (fpdc)


Size: 19 inches around X 10 inches tall 


Notes:

Ch1 Does not count as a st

Ch 3 counts as a dc

Rows are joined with a slst to the ch 3

When changing colors Ch3 after the color change


Pattern:


Starting at the hat:

R: 1 - With C1, Ch 5, form into a circle, Ch3,

5 dc in the circle, join, ch3 (6 dc)


R: 2 – *2 dc in the next dc, 1 dc in the next dc*

Repeat From * to * around, Join, (9 dc)


R: 3 – Chgto to C2, leave C1 attached, ch3

Repeat R: 2, join ch 3 (13 dc)


R: 4 – Repeat R: 2, join (19 dc)


R: 5 – Chgto C1, leave C2 attached, ch3

1 dc in each dc, join ch 3 (19 dc)


R: 6 – Repeat R: 5, join, (19 dc)


R: 7 – Chgto C2, leave C1 Attached, ch3


*2 dc in the next dc, 1 dc in the next dc*

Repeat From * to * around, Join (28 dc)


R: 8 – 2 dc in each dc, join (56 dc)


R: 9 – Chgto C2, Cut and Tie off C1, ch3

BLO, 1 dc in each dc, join, ch 3 (56 dc)


R: 10 – 1 dc in each dc, join (56 dc)


R: 11 – Chgto C3, cut and tie off C2, ch3

Ch3, 1 dc in the next dc,

*1 FPDC in the next 2 dc, 1 dc in the next 2 dc*

 Repeat From * to *around, join, ch 3 (28 fpdc, 28 dc)


R: 12 - 1 dc in the next dc,

*1 FPDC in the next 2 dc, 1 dc in the next 2 dc*

 Repeat From * to *around, join, ch 3 (28 fpdc, 28 dc)


R: 13 – R: 16 – Repeat R: 12


R: 17 – Chgto to C1, Ch 3, 1 Hdc in each st around,

 join, tie off. (56 hdc)


Nose:

R: 18 –With C4, Ch3, 8 hdc in the 3rd ch from the hook,

 join to the 1st hdc with a slst, ch1, turn (8hdc)


R: 19 – 2 hdc in each hdc, around, join, to the 1st hdc with a slst,

Tie off leaving a 12 inch tail of yarn. Set aside. (16hdc)


Beard: With C5 – Cut 30 pieces of yarn, 10 inches long.

Attach 10 pieces – one around each dc, centered on R: 9

Repeat on R: 10, and R 11

Trim if desired.


Sew on Nose, as shown in picture,

slightly gathering in a circle, so the nose looks 3d.


 Pom Pom – you can use a pom pom maker if desired.

Using C1, C2, And C3 make a pom pom and attach to the top of the hat.


An Ad Free PF File is Available

In My Ravelry Shop At This LINK

 For $3.50