
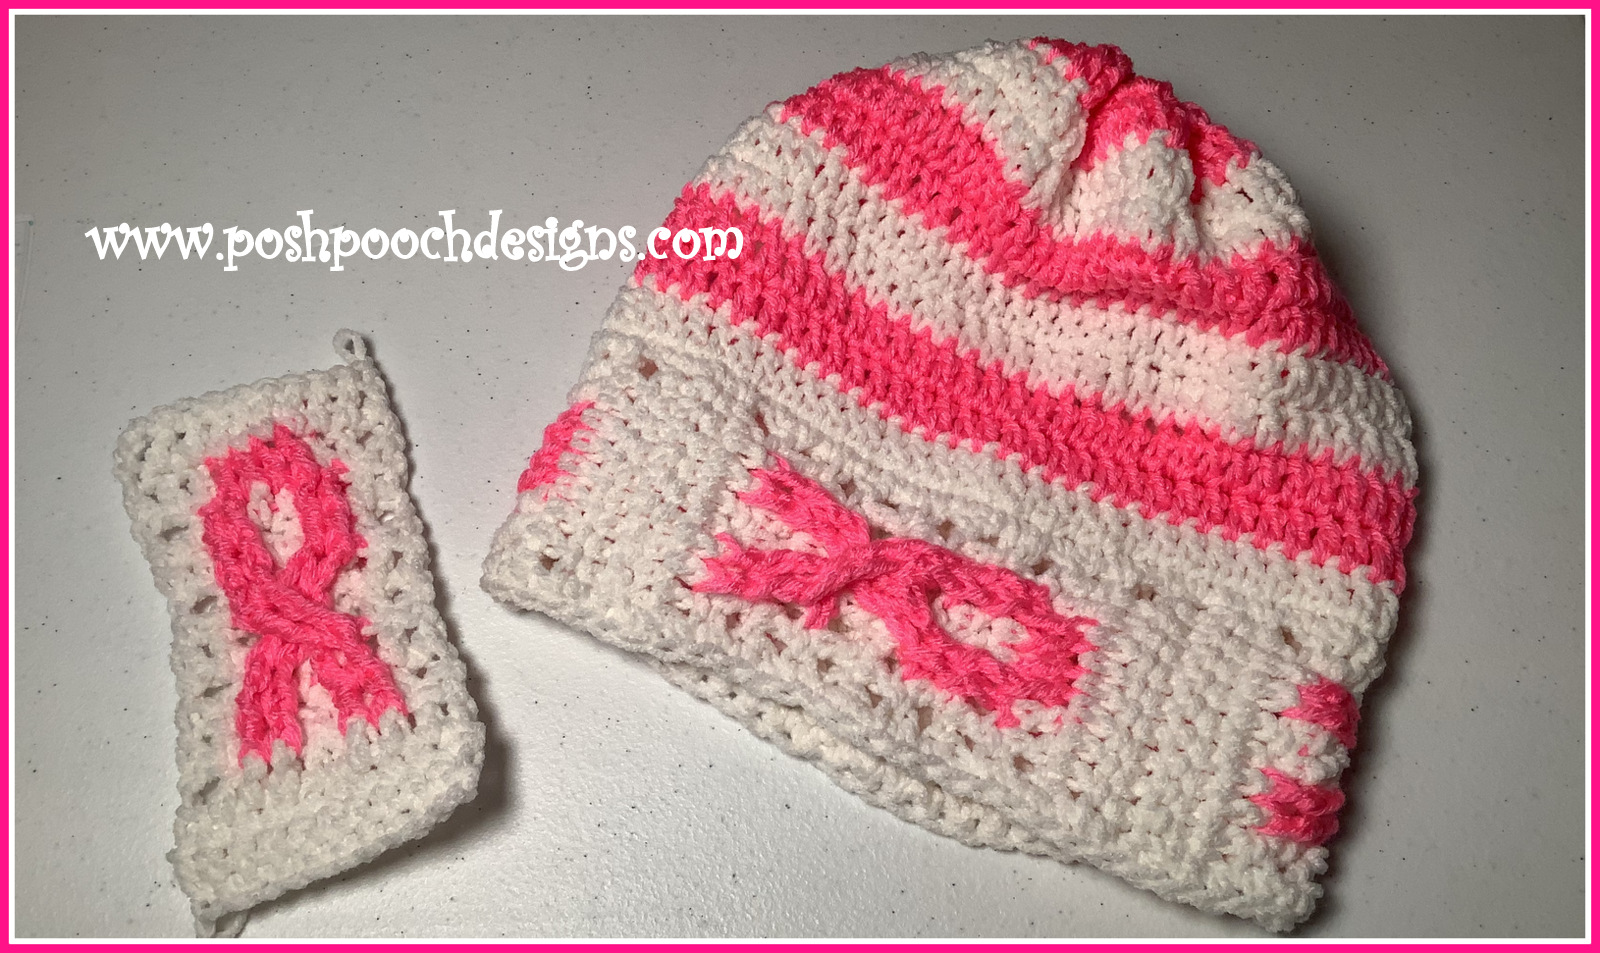
Breast Cancer Awareness Headband And Slouchy Beanie Hat
Crochet Pattern
By Sara Sach of Posh Pooch Designs

October is Breast Cancer Awareness Month.
Every year I try to design a New Crochet Pattern
to bring awareness to Breast Cancer.
I designed This Crochet Pattern in October 2015.
I decided it was time to retest the crochet pattern,
and record a brand new video

I designed the hat in a soft cotton.
Be sure to use a soft yarn like cotton, or acrylic,
if you are making this for a Chemo patient.
This crochet pattern is a step by step Photo Tutorial
to help you with the Cable Stitch section of the hat band.
I set the skill at "intermediate" because the cable sections
can be a little tricky, but it is easy once you practice the
cable stitch pattern a couple of times.
Other yarns that will work for this pattern
are I Love This Cotton, I Love This yarn and simply soft
And Redheart soft. Any medium (4) weight yarn will
work for this project.
This Crochet Pattern can also be a headband
By leaving off the top part of the Slouchy.

I designed this pattern using pink and white for
Breast Cancer Awareness. It also works for any of the
other ribbon colors, by changing the colors that
you make it in.
See The Video On My Crochet Youtube
Channel At This LINK
Breast Cancer Awareness Slouchy Beanie Hat
Crochet Pattern
Please Add This Crochet Pattern To Your Ravelry Favorites
Skill: Intermediate
Materials :
Crochet Hook – I / 5.5 MM
Yarn – Med (4) – Acrylic - Red heart With Love
2 oz. White C1, 2 oz. Bright Pink C2 - For Slouchy Hat
Crochet Hook – I / 5.5 MM
Yarn – Med (4) – Acrylic - Red heart With Love
2 oz. White C1, 2 oz. Bright Pink C2 - For Slouchy Hat
1.oz. White C1, 1
oz. Pink – C2 – For Headband
Yarn Needle
Stitches:
Chain (ch)
Slip Stitch (slst)
Single Crochet (sc)
Double Crochet (dc)
Front Post Double Crochet (fpdc)
Back Post Double Crochet (bpdc)
Front Post Triple Crochet (fptr)
Change (chg)
Skip (sk)
Together (tog)
Notes:
Ch1 at ends of rows does not count as a st.
Ch3 in rounds counts as a dc.
Size: Youth to Adult 18 to 24 inch head
Yarn Needle
Chain (ch)
Slip Stitch (slst)
Single Crochet (sc)
Double Crochet (dc)
Front Post Double Crochet (fpdc)
Back Post Double Crochet (bpdc)
Front Post Triple Crochet (fptr)
Change (chg)
Skip (sk)
Together (tog)
Ch1 at ends of rows does not count as a st.
Ch3 in rounds counts as a dc.
Fits loose and comfy
How To Change Colors :

R: 1 – With C1, Ch 11, 1 sc in the 2nd ch from the hook and in each ch across, ch1 turn


chg to C2, 1 fpdc in the next 2 dc, chg to c1, 1dc in next 2 dc, ch1, turn
(2dc, 2fpdc, 2dc, 2fpdc, 2dc)

chg to C2, 1 bpdc in the next 2 dc, chg to c1, 1dc in next 2 dc, ch3, turn
(2dc, 2bpdc, 2dc, 2bpdc, 2dc)

chg to C2,1 fptr in the next 2 sts,


(2dc, 2bpdc, 2dc, 2bpdc, 2dc)

(2dc, 2fpdc, 2dc, 2fpdc, 2dc)

(2dc, 2bpdc, 2dc, 2bpdc, 2dc)


If more Length is needed, continue to repeat R: 4

Weave in your ends.
For The Headband – Join yarn to the other edge of the band, Sc around,
join to the 1st sc, and tie off
join to the 1st sc, and tie off

R: 41 -Sc around the other edge of the hat band, join to 1st sc.
(You will need approximately 72 sc sts,
if you added rows for width, it will still work up just fine.)
R: 43– 1 dc in each dc, join, ch3


Thread that
strand of yarn on the needle and gather the top of the hat closed.
Securing tightly.
Securing tightly.

Ad Ad Free PDF file is Available
In My Ravelry Shop At This LINK
For $4.50

No comments:
Post a Comment