
I had so many people ask me,
"How do you make your buttons"?
 I thought I should make a tutorial.


1. Preheat the toaster oven, according to the package directions
of the polymer clay you purchased.
Mine says 275. Then Put a piece of parchment
paper in the sheet pan.

2. Assemble your stuff. I used:
Polymer Clay, 2 inch cookie cutter,
roller and a button hole maker or tooth pick,
another piece of parchment paper to work on.

3. Choose your colors.
I am using about .5 oz. of
brown and beige this time.

4. Knead and roll your colors into 2 long canes.
these are about 12 inches long.
This is the hardest part, but it really works those muscles!

5. Then, cut the cane into 3 pieces.
Take the first one, and twist the cane folding them,
but not letting the colors mix.

6. Roll out the clay to about 1/4 inch thickness
and press your cookie cutter in.
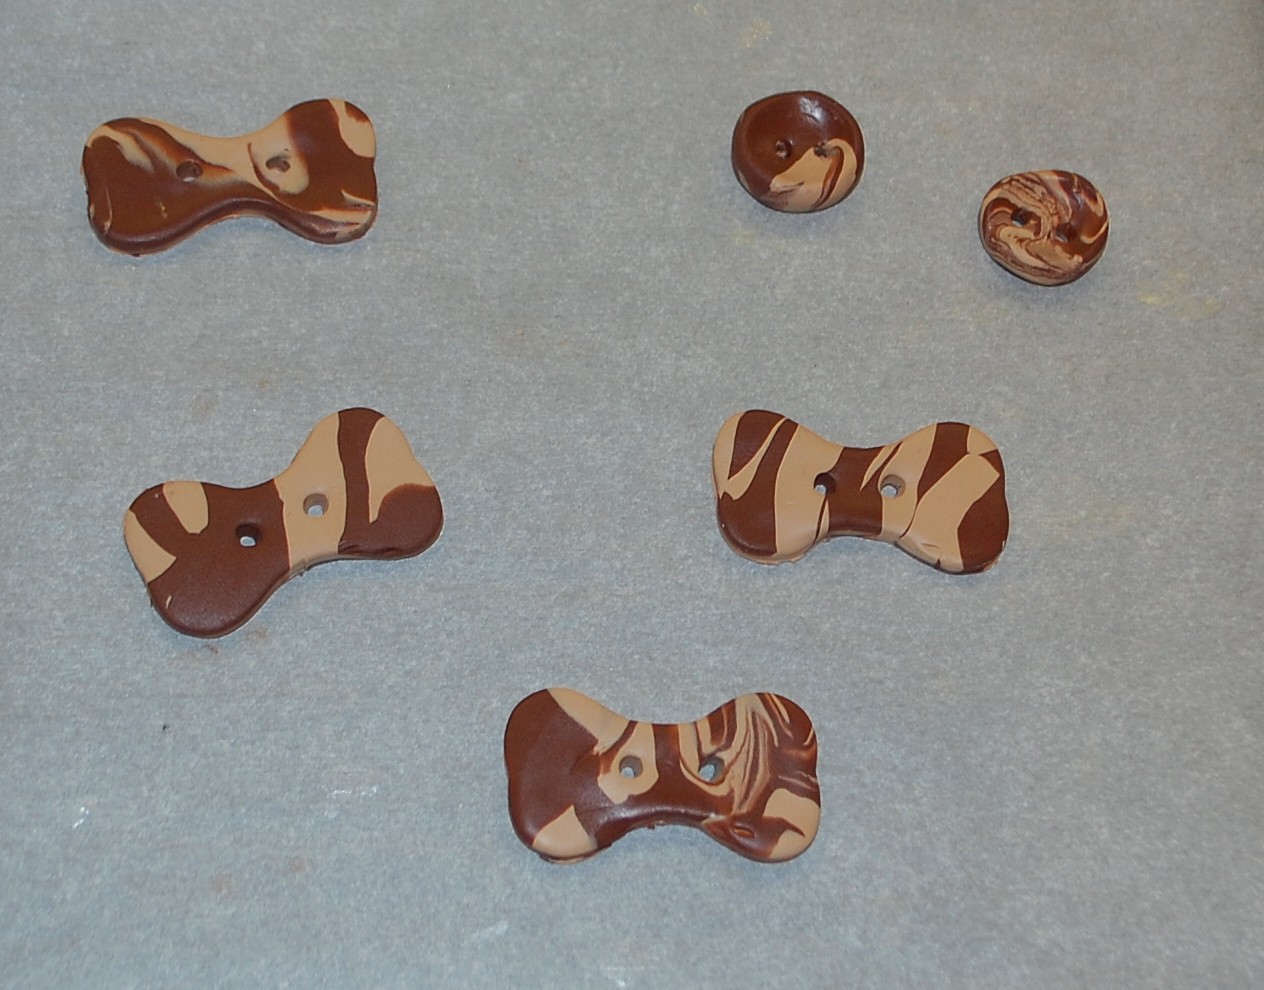
7. Use the button hole maker or a tooth pick
to make the holes.
(I use the left overs to make round buttons)
Bake for 15 minutes
or according to your Clay's directions.

8. When the buttons are cooled, I wait about 30 minutes.
Spray with Glitter Spray, Then Clear Gloss.
The ones on the left are sprayed with just gloss.
Depending on size of buttons,
you can get 4 to 6 buttons per oz
of Polymer clay.
2 comments:
Thanks for sharing this. Buttons are expensive (for what they are) and often hard to find just the right one. This is great!
you are welcom, be sure and post some pics, if you get a chance, on my facebook page.
Post a Comment