Showing posts with label polymer clay buttons. Show all posts

Saturday, January 20, 2018

A Collection of Easy Polymer Clay Project Blogs and Videos | Posh Pooch Designs

A Collection of Easy Polymer Clay Project Blogs and Videos
 By Sara Sach of  Posh Pooch Designs

Have you tried Polymer Clay?
It's a lot of fun and there are many 
"Crochet and Yarn related"
projects you can do. 
And these are all very easy. 
Just click the name of the project and 
it will take you to blog where the 
project and video is found.


Now Go get some Polymer Clay and get 
started on some of these fun and easy projects.
I Love it when I can combine 2 of my favorite crafts!

Friday, March 10, 2017

Crochet Bracelets With Polymer Clay Buttons | Posh Pooch Designs

These are so very fun to make!
It's a great projects for kids and Adults.
And is a great Beginner project for those wanting to learn Polymer Clay and Crochet.

See The Video on my Youtube Channel
 at This LINK
You can Make them bracelets or 
necklaces, or even for your pets.
They are simple Slip Stitch bands
and simple Polymer Clay buttons and slides.

A Great Project to keep those kids busy on
 Spring  or Summer Break!

You can find the Written Crochet Pattern
 at This LINK:

Have fun!
 And Please post a picture or 2 to
 my Facebook page at


Monday, January 30, 2017

How To make Polymer Clay Button Molds | Posh Pooch Designs


How To make Polymer Clay Button
 Molds from buttons. 

It is really fun and easy to do.
I just can not stop making them!

Here are some of the molds I have made.
What You need:
Parchment Paper
Polymer Clay
Buttons
Oven 
Plastic Knife
Tooth Pick

Preheat your oven to 275 degree
 Bake molds 15 minutes
Line your baking pan with Parchment Paper
Take a Small amount of Clay and 
soften it by kneading it.
 Roll in a ball and Gently flatten it out.
Put a little corn starch on the clay, 
 and press a button into the flat surface.
Slowly and carefully Pull off the button and bake.

You may need to use your knife or tooth pick
 to help get the mold off the button.

When done, let cool and rest for 24 hours before using.

See The Video on my Youtube Channel 
at This Link


Have fun and make lots of 
Molds and Buttons for all your 
Crochet, Knitting and Sewing Projects!

Tuesday, May 22, 2012

Tutorial : How I Made Polymer Clay Buttons

I had so many people ask me,
"How do you make your  buttons"?
I thought I should make a tutorial.
I am not an expert, but this is what I did.
See The Video on my Youtube Channel 
at this LINK 

1. Preheat the toaster oven, according to the package directions
of the polymer clay you purchased.
Mine says 275. Then Put a piece of parchment
paper in the sheet pan.
2. Assemble your stuff. I used:
Polymer Clay,  2 inch cookie cutter,
roller and a button hole maker or tooth pick,
another piece of parchment paper to work on.

3. Choose your colors.
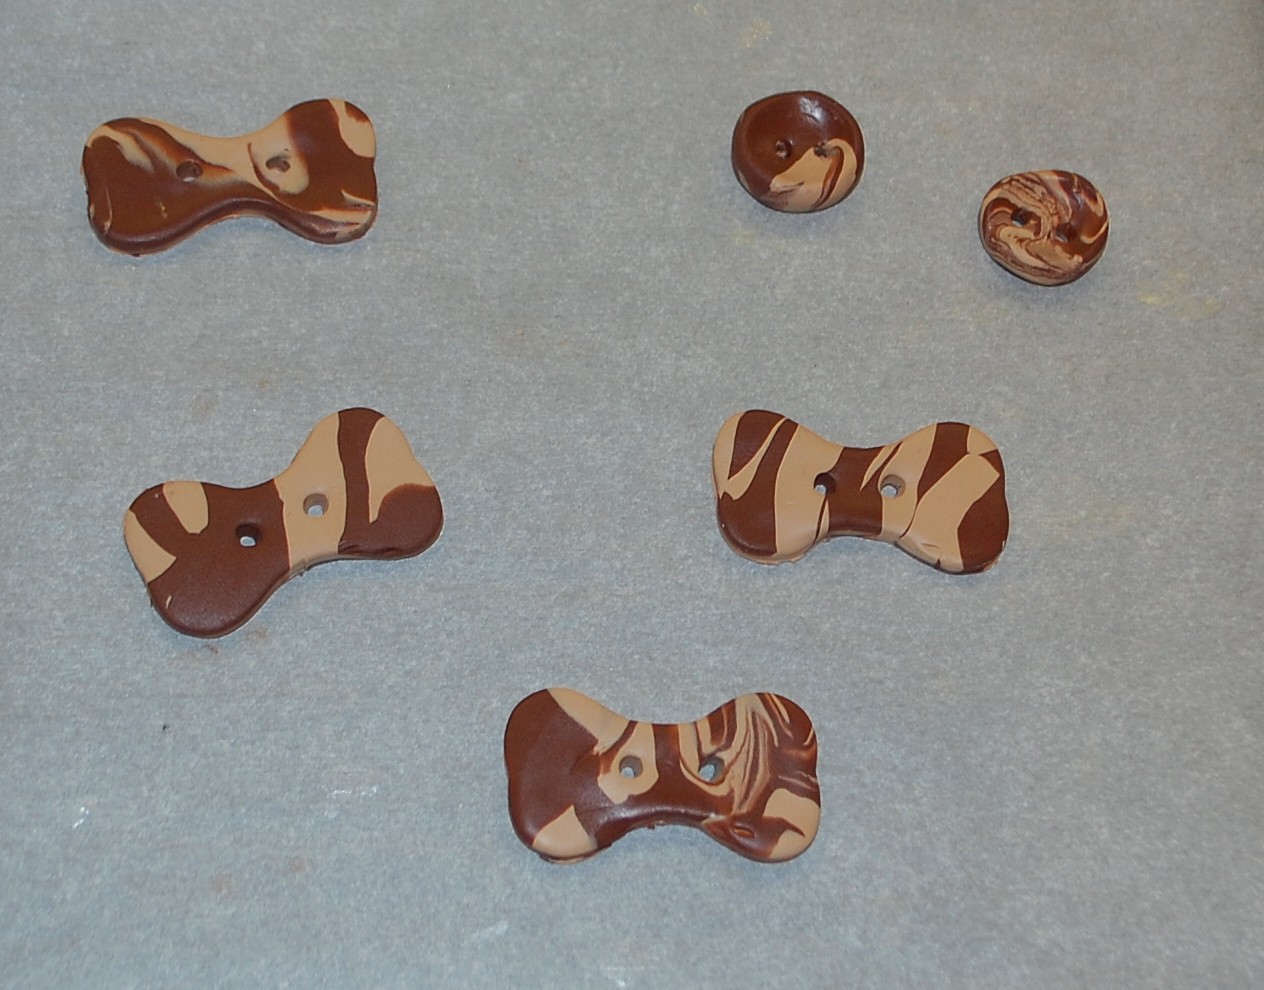
I am using about .5 oz. of
brown and beige this time.

4. Knead and roll your colors into 2 long canes.
these are about 12 inches long.
This is the hardest part, but it really works those muscles!

5. Then, cut the cane into 3 pieces.
Take the first one, and twist the cane folding them,
but not letting the colors mix.

6. Roll out the clay to about 1/4 inch thickness
and press your cookie cutter in.
7. Use the button hole maker or a tooth pick
to make the holes.
(I use the left overs to make round buttons)
Bake for 15 minutes
 or according to your Clay's directions.
8. When the buttons are cooled, I wait about 30 minutes.
Spray with Glitter Spray, Then Clear Gloss.
The ones on the left are sprayed with just gloss.

Depending on size of buttons,
you can get 4 to 6 buttons per oz
of Polymer clay.