Showing posts with label make buttons. Show all posts

Tuesday, January 24, 2017

Live Video Chat With Sara - Magic Circle Vs. Ch2 Circle Method - Posh Pooch Designs

Live Video Chat With Sara Sach 

I am Just An Oma Having fin,
 I am not a professional! 
On today's Live Video Chat we are discussing 
the Magic Circle Vs. Ch2 Method.

See The Live Video On My Youtube Channel
At This LINK
I have gotten several questions concerning which
 technique is better. 
When I first started Crocheting the Magic Circle or
 Magic Ring was often called the 
"Beginning Circle or Ring".

But Actually I learned 3 different Methods
 for Starting a Crochet Circle.

See a Video on Both Methods on my Youtube Channel at this Link


What is the Magic Circle:
The Magic Circle is a technique used to start a crochet project, when crocheting in a circle.
You form a loose loop of yarn, which you crochet around,
 that can be pulled closed after the first round.

What is the Ch2 Circle Method:
The Ch2 Method is also used in forming a beginning circle.
You ch2, then stitch your first ring of stitches in
 the 2nd ch from the hook, then join in a circle.

What is the Chain 5, join Method:
This Method is where you literally chain 5, and join in a circle, Then begin stitching in the circle.

All three Methods work great and it is usually a preference
 as to which method to use. There are however, some 
projects that I prefer the ch2 method, such as small toys. 

What's New This Week at


Free Crochet Pattern and Video

Crochet Pattern and Video


Tuesday, May 22, 2012

Tutorial : How I Made Polymer Clay Buttons

I had so many people ask me,
"How do you make your  buttons"?
I thought I should make a tutorial.
I am not an expert, but this is what I did.
See The Video on my Youtube Channel 
at this LINK 

1. Preheat the toaster oven, according to the package directions
of the polymer clay you purchased.
Mine says 275. Then Put a piece of parchment
paper in the sheet pan.
2. Assemble your stuff. I used:
Polymer Clay,  2 inch cookie cutter,
roller and a button hole maker or tooth pick,
another piece of parchment paper to work on.

3. Choose your colors.
I am using about .5 oz. of
brown and beige this time.

4. Knead and roll your colors into 2 long canes.
these are about 12 inches long.
This is the hardest part, but it really works those muscles!

5. Then, cut the cane into 3 pieces.
Take the first one, and twist the cane folding them,
but not letting the colors mix.

6. Roll out the clay to about 1/4 inch thickness
and press your cookie cutter in.
7. Use the button hole maker or a tooth pick
to make the holes.
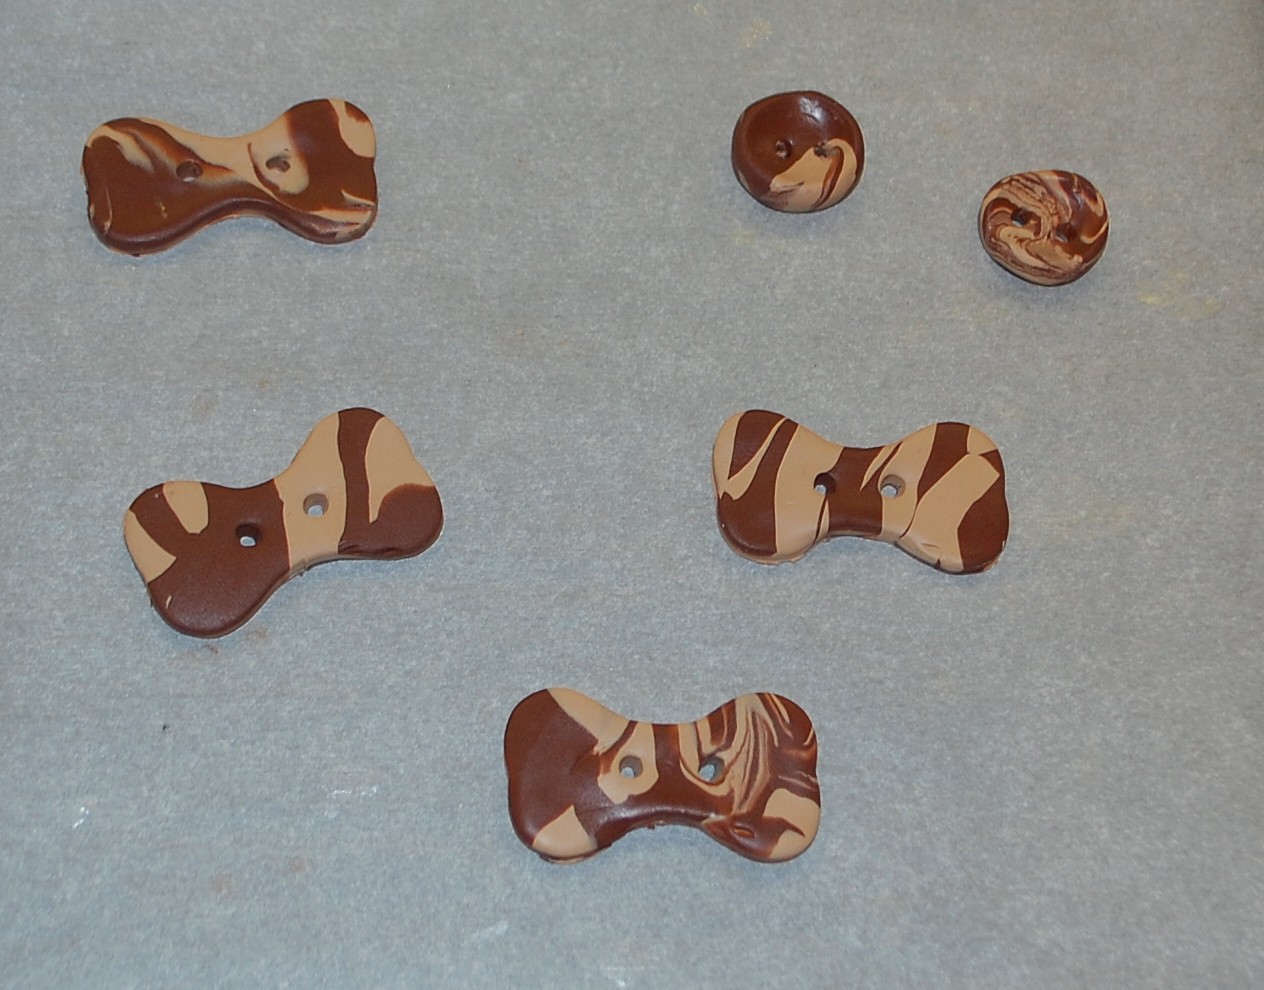
(I use the left overs to make round buttons)
Bake for 15 minutes
 or according to your Clay's directions.
8. When the buttons are cooled, I wait about 30 minutes.
Spray with Glitter Spray, Then Clear Gloss.
The ones on the left are sprayed with just gloss.

Depending on size of buttons,
you can get 4 to 6 buttons per oz
of Polymer clay.